Filed under:
S45 E20: QR Construction
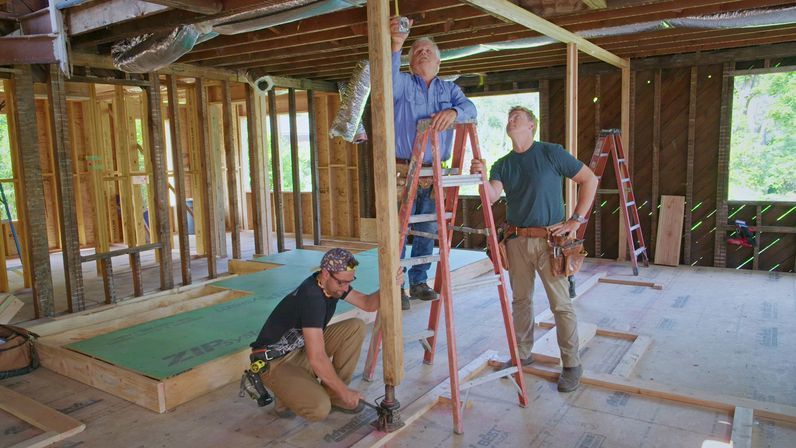
The new two-story addition is framed, and the front porch is being rebuilt. An interior wall is framed to straighten out a sag in the upper floor, and exterior colors are chosen.

This Old House
Season 45 starts with a 1960s home in Lexington, MA, needing a modern update. Then, the crew heads to Glen Ridge, NJ, to restore the original details of a tired Victorian.

Ask This Old House
Season 22 of Ask This Old House sees Kevin, Tommy, Richard, Jenn, and the rest of the experts help homeowners tackle their toughest home improvement projects.
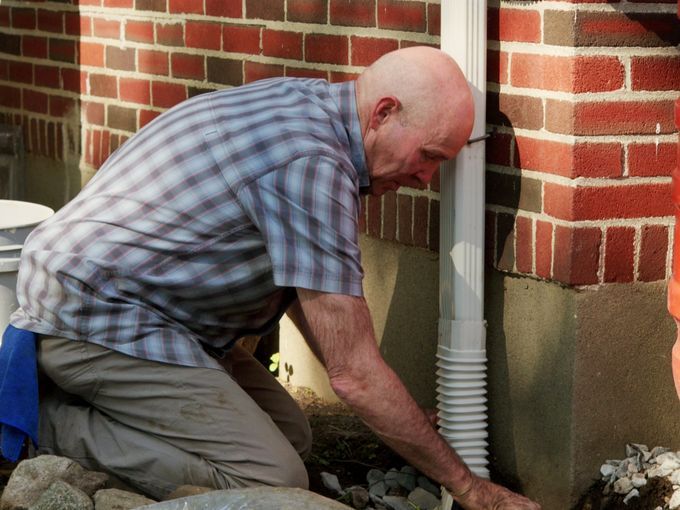
Home Improvement A-Z


Latest Videos

Kevin O’Connor
Host

Richard Trethewey
Plumbing and Heating Expert

Jenn Nawada
Landscape Contractor

Tom Silva
General Contractor
TV Listings
Check your local listings for This Old House and Ask This Old House.