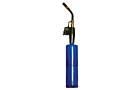
 Propane torch
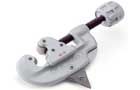
- Tubing cutter
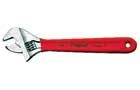
- Adjustable wrench
- Drill/driver
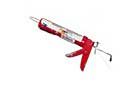
- Caulk gun
- Hammer
- Screwdriver

In this video, This Old House plumbing and heating contractor Richard Trethewey explains how to install a frost-proof faucet.
Steps:
1. Turn off the water and drain the old hose faucet, also called the sillcock.
2. Use emery cloth to clean the copper water pipe leading to the hose faucet.
3. Cut the pipe using a tubing cutter and then remove the old hose faucet.
4. Insert the new frost-proof sillcock into the hole in the wall, and mark its mounting-hole locations.
5. Drill holes on the mark and insert plastic wall anchors.
6. Apply silicone caulk around flange of the frost-proof sillcock.
7. Slide sillcock into hole, press tight to wall and secure with stainless steel screws.
8. Use an adjustable wrench to remove stem unit from sillcock.
9. From inside, solder a length of copper pipe to the end of the sillcock.
10. Use a coupling to solder new pipe to the existing water pipe.
11. Re-install the stem unit into sillcock and tighten with wrench.
12. Turn on water and test your work.