We may be compensated if you purchase through links on our website. Our team is committed to delivering honest, objective, and independent reviews on home products and services.
Cracked or sagging plaster ceilings are common in older homes, but they don’t have to stay that way. With the right tools and techniques, repairing your plaster ceiling is actually a manageable do-it-yourself (DIY) project for most homeowners. In the video above, This Old House general contractor Tom Silva demonstrates a straightforward method to restore the integrity and appearance of a damaged plaster ceiling. Get the details below.
Understanding Plaster Ceiling Damage
Plaster ceilings can develop cracks or sag over time for various reasons. Identifying what caused the damage will help you choose the correct repair strategies and prevent future problems.
Common Causes of Plaster Ceiling Damage
- Structural settling, which naturally occurs over time
- Water damage, often resulting from leaks in roofing or plumbing
- Age-related deterioration, which is common in older homes
- Improper installation during the initial construction
- Excessive vibration caused by heavy foot traffic or movement
Assessing the Damage
Inspect your ceiling closely to determine the problem’s severity. Look for hairline cracks, larger separations, sagging areas, and any plaster pieces that may be loose or falling. If there is significant damage or indications of ongoing water infiltration, consult a professional to address these issues before starting repairs. This step is crucial in ensuring any underlying problems are corrected to prevent further deterioration.
Tools and Materials Needed for Ceiling Repair
Here’s what you’ll need to get started on the repair:
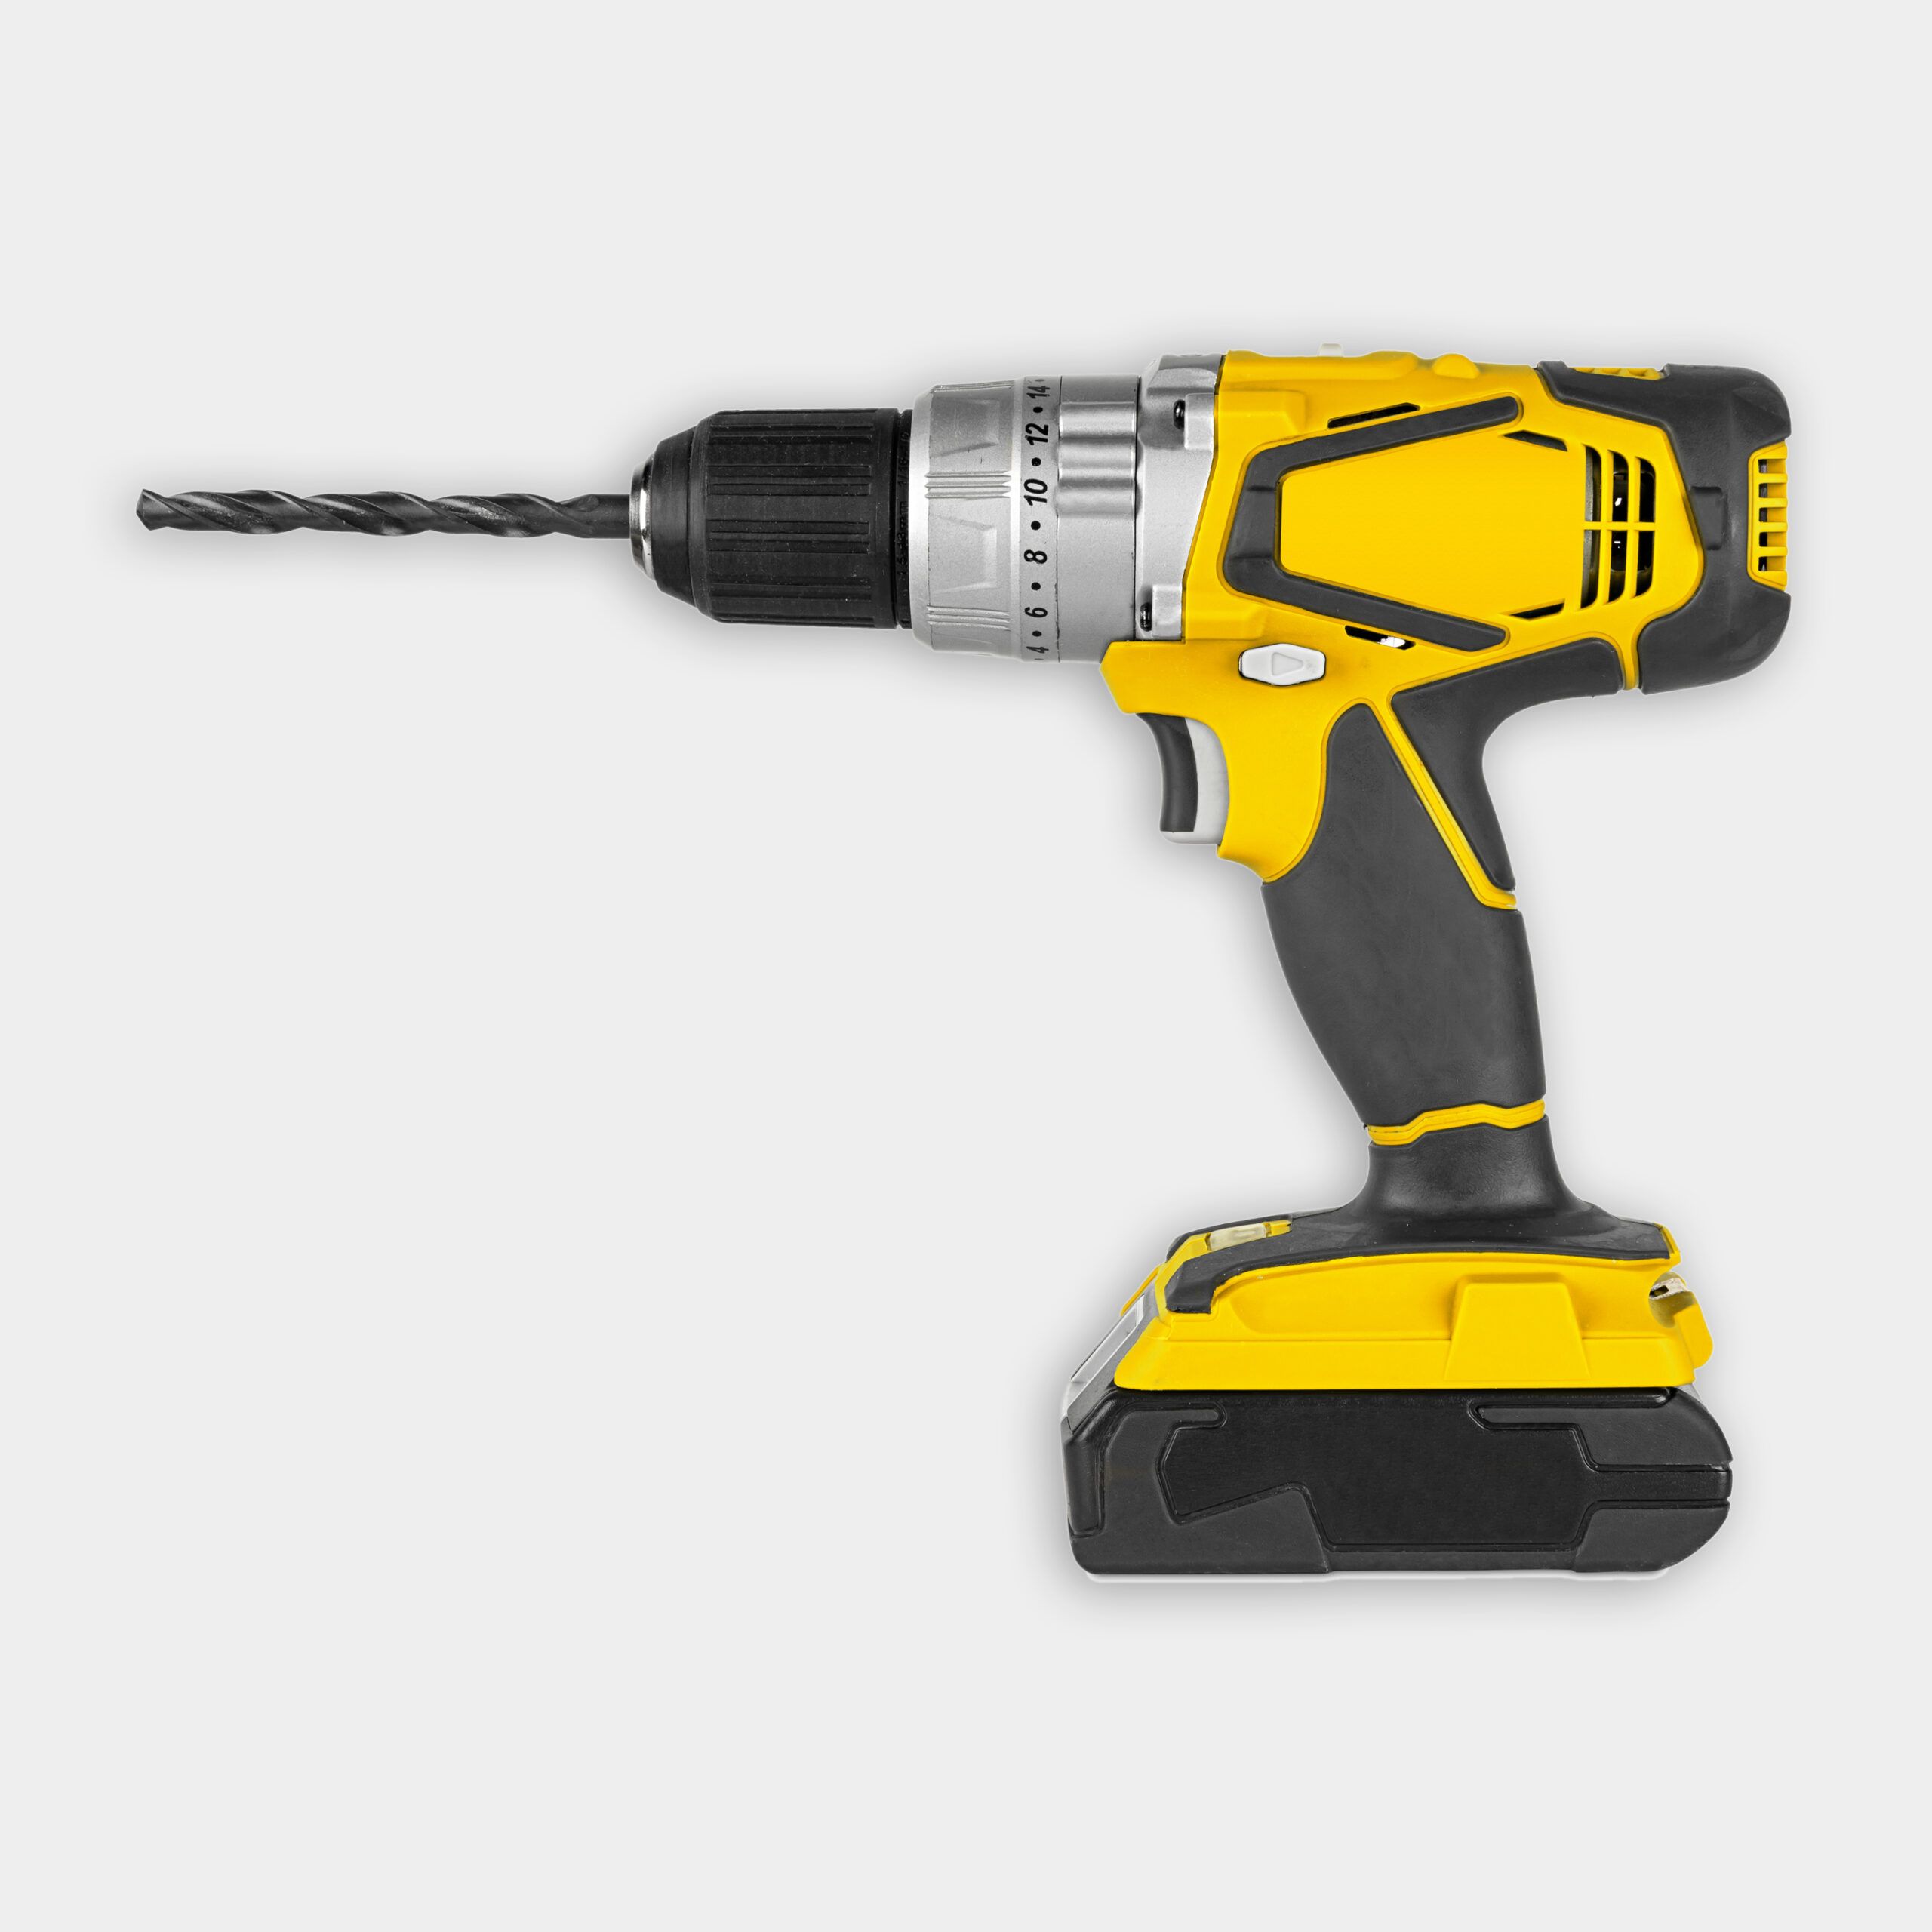
- Drill/driver
- Drywall hawk
- Drywall screws
- Dust mask
- Insect screening
- Joint compound
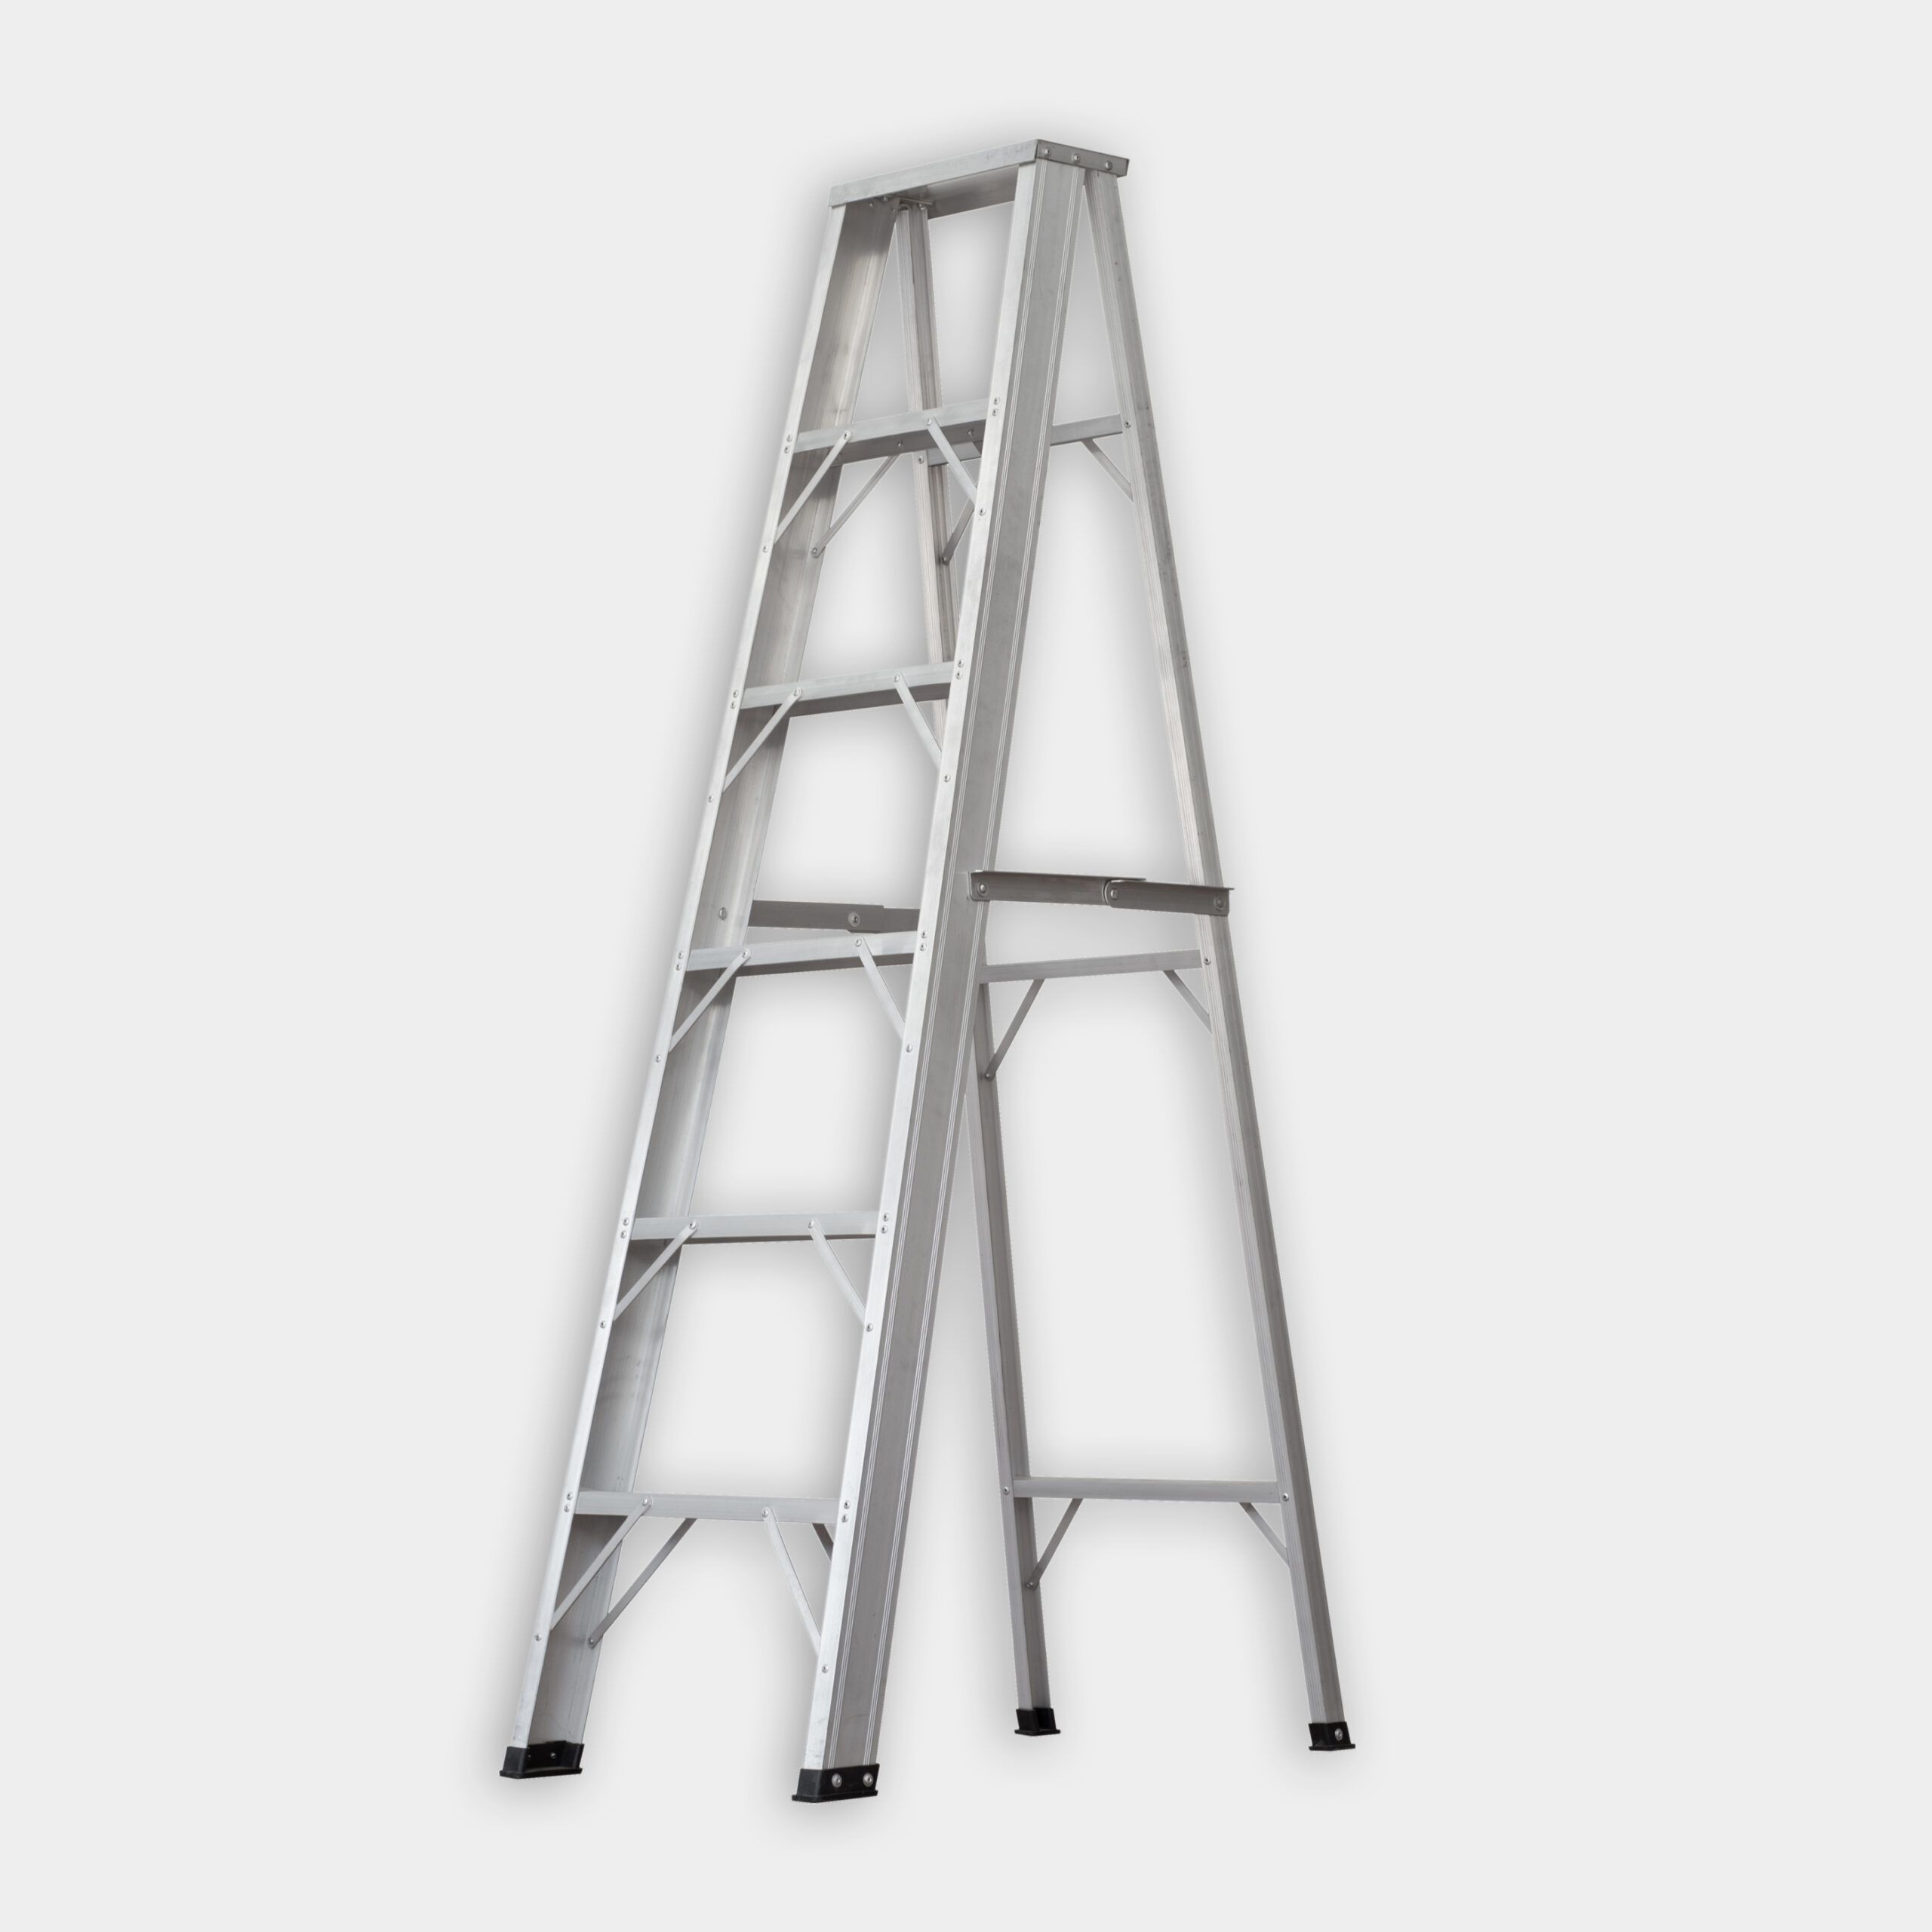
- Ladder
- Paint
- Plaster washers
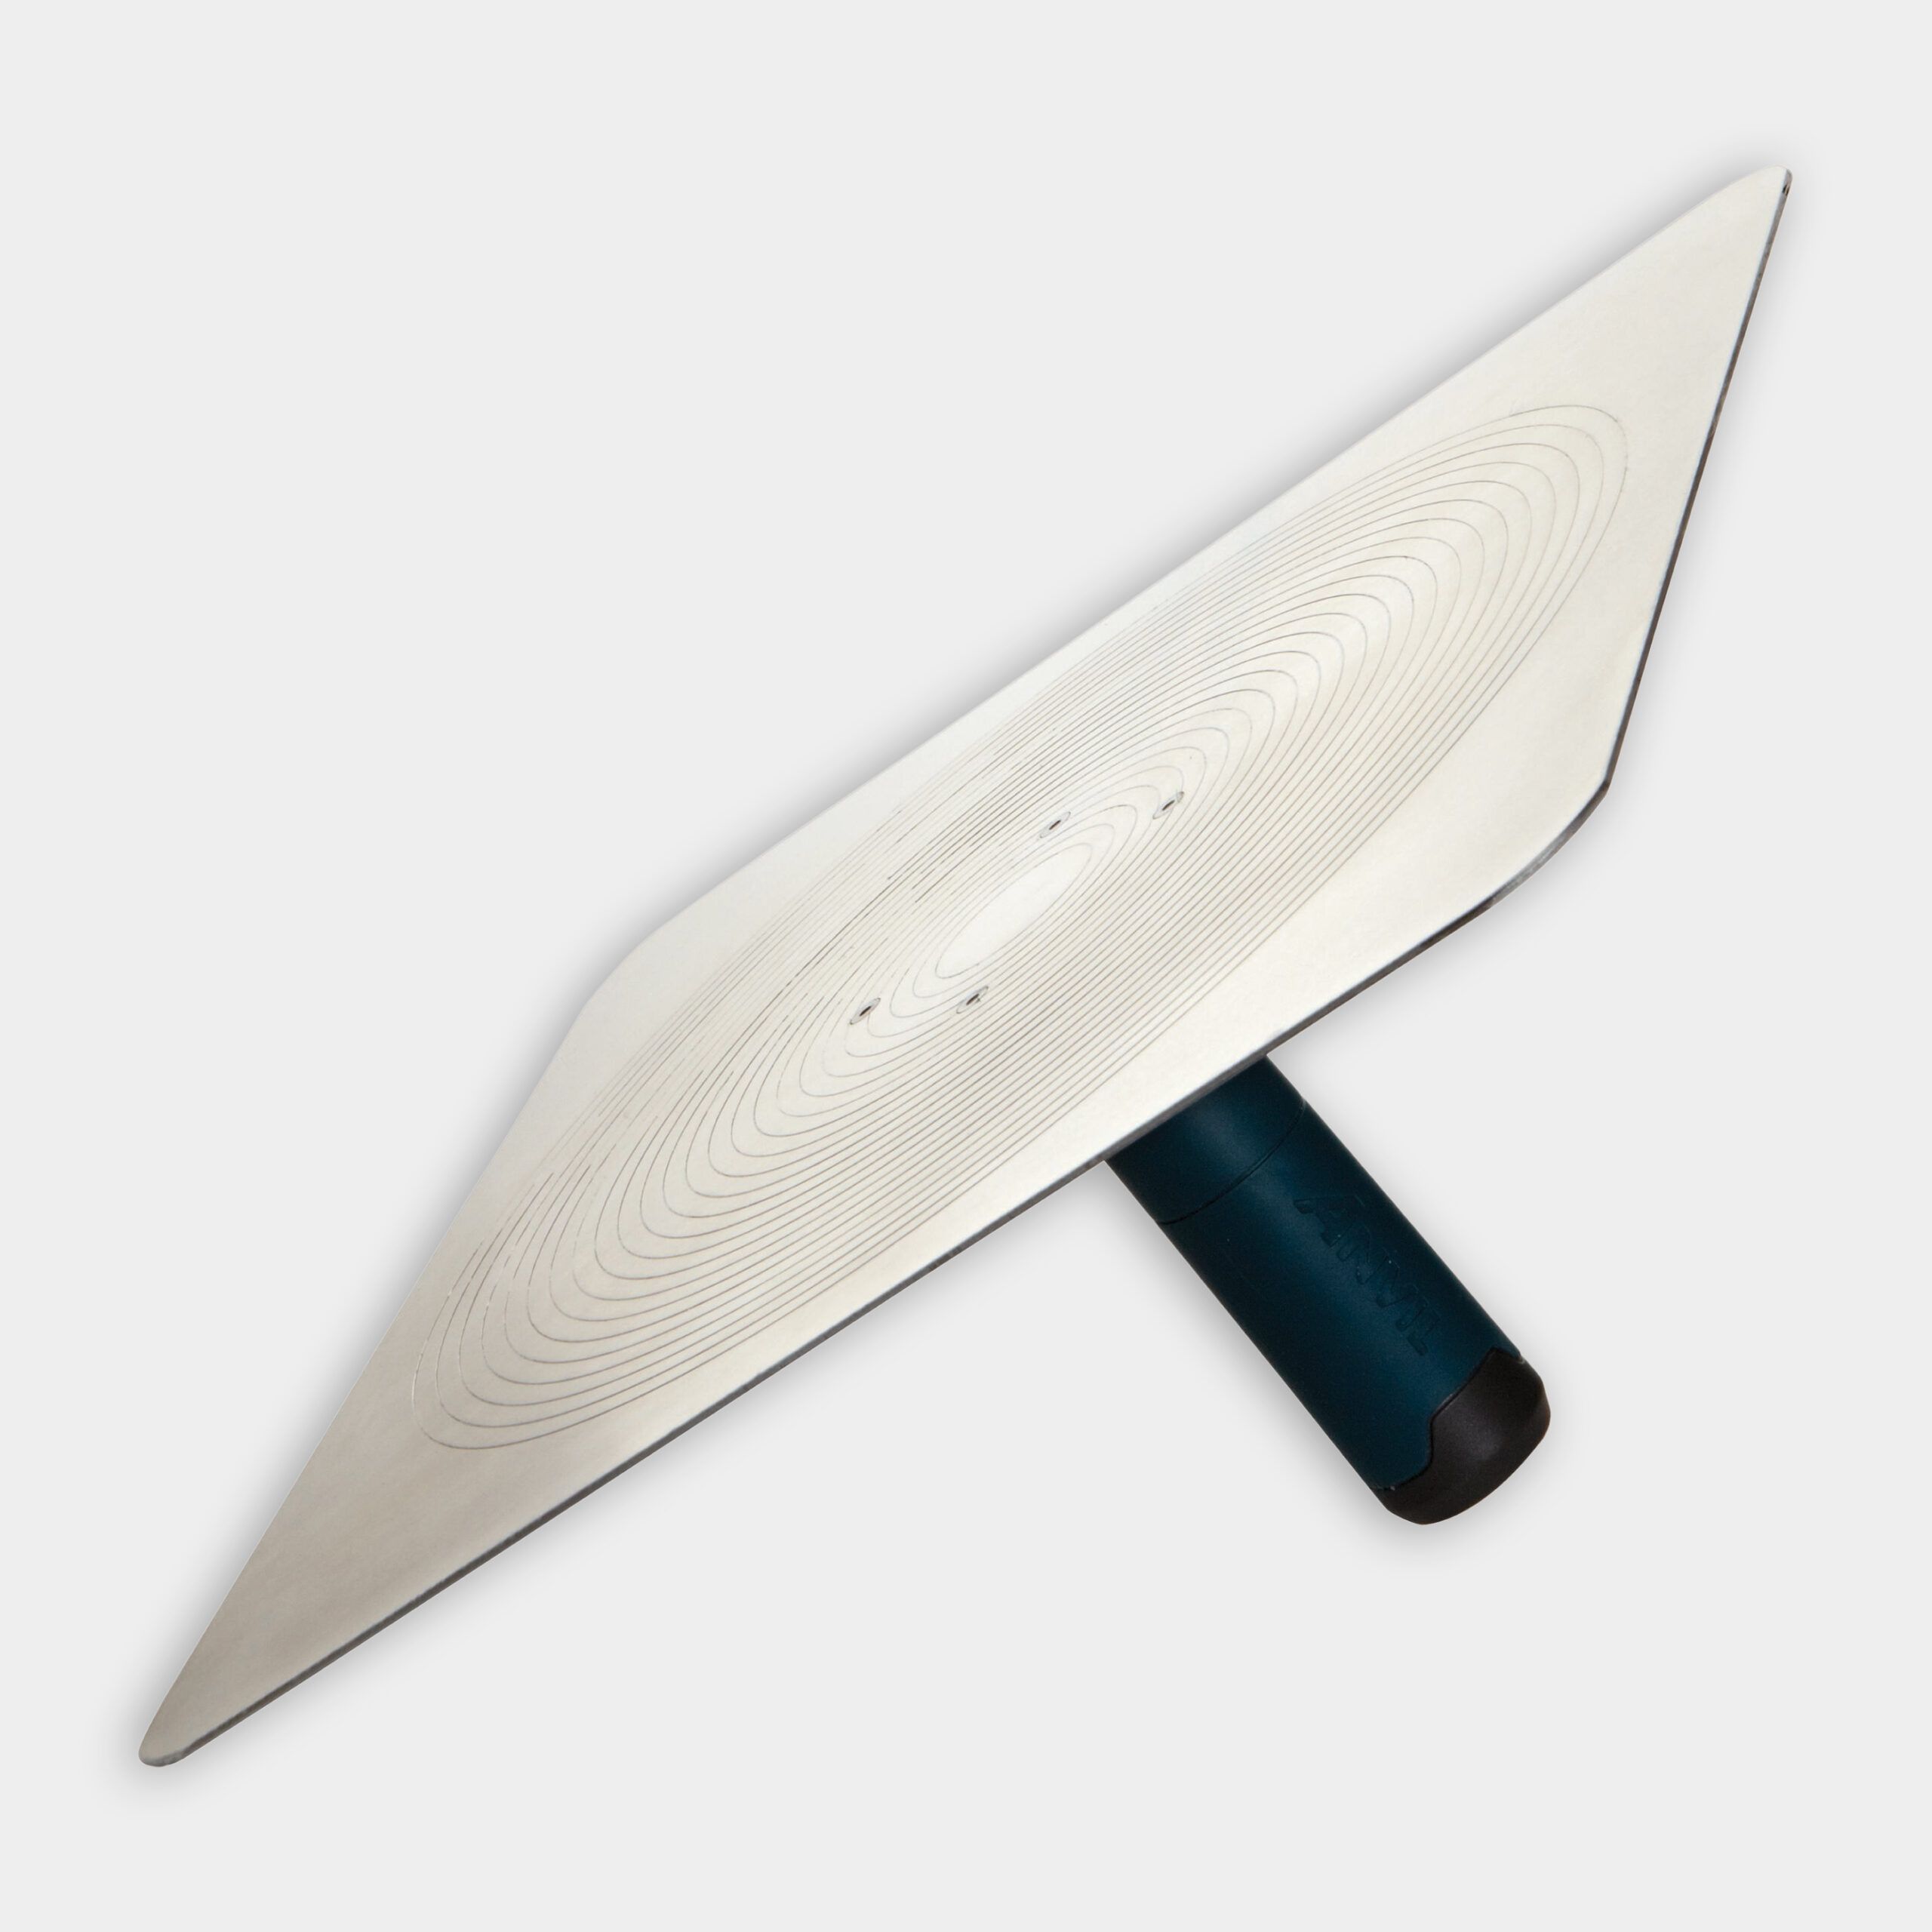
- Pointed trowel
- Primer
- Safety goggles
- Sandpaper (100-grit)

Plaster Ceiling Repair Process
Restoring your plaster ceiling requires several steps. Take your time and work carefully for a more professional-looking result.
Securing Loose Plaster
Begin by stabilizing any loose sections of plaster. This is an essential initial step to prevent further damage and ensure the surface is ready for repair.
- Using a stud finder or by gently tapping, locate the wooden laths behind the plaster.
- Attach plaster washers to the ceiling along and around the cracked area to provide additional support.
- Secure the loose plaster by driving drywall screws through the washers and into the wooden laths.
In the video, Silva demonstrates this technique, emphasizing the importance of finding the laths for proper attachment and stability.
Applying Joint Compound
Once the loose plaster is firmly secured, the next step involves applying joint compound to create a smooth and uniform surface.
- Use a drywall hawk to hold a portion of joint compound.
- With a pointed trowel, spread the compound over the repaired area.
- Cover the plaster washers and the surrounding area evenly to ensure a seamless blend with the existing ceiling.
Reinforcing With Insect Screening
Adding an insect screening layer drastically reduces the chance of recurrent cracks. To effectively reinforce the repair, do the following:
- Cut a piece of insect screening a bit larger than the repaired area.
- Firmly press the screening into the wet joint compound.
- Use the trowel to smooth the screening flat, making sure it is fully embedded in the compound for strength.
Allowing Drying Time
Let the joint compound dry for at least 24 hours. Avoid interfering with the repaired area during this period to ensure a smooth finish. Maintain good ventilation in the area to aid the drying process and improve the compound’s adhesion.
Sanding and Refining
With the joint compound dried, use 100-grit sandpaper to remove high spots and ridges. Fill any low spots with additional joint compound, if necessary, to achieve a flat surface. Apply another thin coat of compound if required, and allow it to dry before sanding it smooth again.
Silva suggests an alternative option using a damp kitchen sponge to smooth the compound, reducing dust and mess compared to regular sanding.
Priming and Painting
To complete the repair and achieve a polished finish, apply a coat of primer to the repaired area to seal the compound and prepare it for painting. Let the primer dry completely before applying any paint layers. Paint two topcoats, ensuring they match the existing ceiling color for a seamless appearance.
Tips for a Professional-Looking Finish of a Plaster Ceiling
Achieving a flawless repair requires equal parts skill and attention to detail. Use these tips to ensure your ceiling looks its best:
- Use a pointed trowel for precision when smoothing the joint compound and transition areas.
- Feather the edges of the compound to blend seamlessly with the ceiling.
- Position a work light at an angle to reveal imperfections for correction.
- Match existing texture patterns to maintain a consistent look.
- Use a paint roller with the same nap length for even application and finish.
When To Call a Plaster Ceiling Repair Professional
While plaster ceiling repairs can often be tackled as DIY projects, certain situations demand professional skill. If you encounter the following, seek expert assistance:
- Significant structural damage affecting the ceiling’s integrity
- Large areas where the plaster has severely sagged
- Indications of ongoing water leakage or damage
- Ceilings in historic homes needing specialized preservation techniques
If the damage is beyond your comfort or capability to repair, don’t attempt repair on your own. Doing so may cause further damage.
Preventing Future Plaster Ceiling Damage
Consistent maintenance and preventive measures help preserve your plaster ceiling and ward off potential future damage. Here are some tips:
- Promptly fix any leaks from the roof or plumbing.
- Ensure your attic has adequate ventilation to prevent moisture accumulation.
- Be mindful of heavy foot traffic above the ceiling to reduce vibration damage.
- Regularly inspect the ceiling for early warning signs of distress or damage.