Project details
Skill
Cost
Estimated Time
We may be compensated if you purchase through links on our website. Our team is committed to delivering honest, objective, and independent reviews on home products and services.
Tiling a fireplace surround requires some skill and patience, but with the right tools and techniques, you can achieve professional-looking results. In this video and guide, we’ll walk you through the process of tiling a fireplace surround and hearth — from preparation to final touches — alongside This Old House expert Jenn Largesse.
Preparing for the Tile Fireplace Project
Before you begin tiling, you need to prepare your fireplace surround and gather the necessary materials.
Inspect the existing surface of your fireplace surround and hearth. If the surface is in poor condition, you may need to replace the drywall or install cement board to create a stable base. Ensure the surface is clean, dry, and free of any debris.
If you need a little more help, check out the video below. Largesse walks through the steps she took to prep her fireplace for new tile.
Choosing Your Tiles
Select tiles that complement your home’s décor and can withstand the heat from the fireplace. For this project, Largesse used marble herringbone mosaic tiles for the surround and 3×6 individual marble subway tiles for the hearth.
Natural stone tiles like marble can be trickier to work with than ceramic or porcelain. Though marble’s aesthetic appeal is unmatched, these tiles require special adhesives and grout to hold up over time. If you go with marble, be sure to choose products specifically designed for use with natural stone.
Gathering Tools and Materials
To complete this project, you’ll need the following materials:
- Marble herringbone mosaic tile
- Marble subway tile
- Mortar for natural stone
- Non-sanded grout
- Tile sealer
- 1/8-inch tile spacers
You’ll also need the tools listed below. If you don’t already own a tile saw, renting one like Largesse did can be a cost-effective option.


Tiling the Hearth and Surround
Before applying any mortar, dry fit the hearth tiles and plan out the mosaic for your surround. A well-planned layout ensures that you won’t run into complications halfway through the tiling process.
Step 1: Lay Out the Tiles
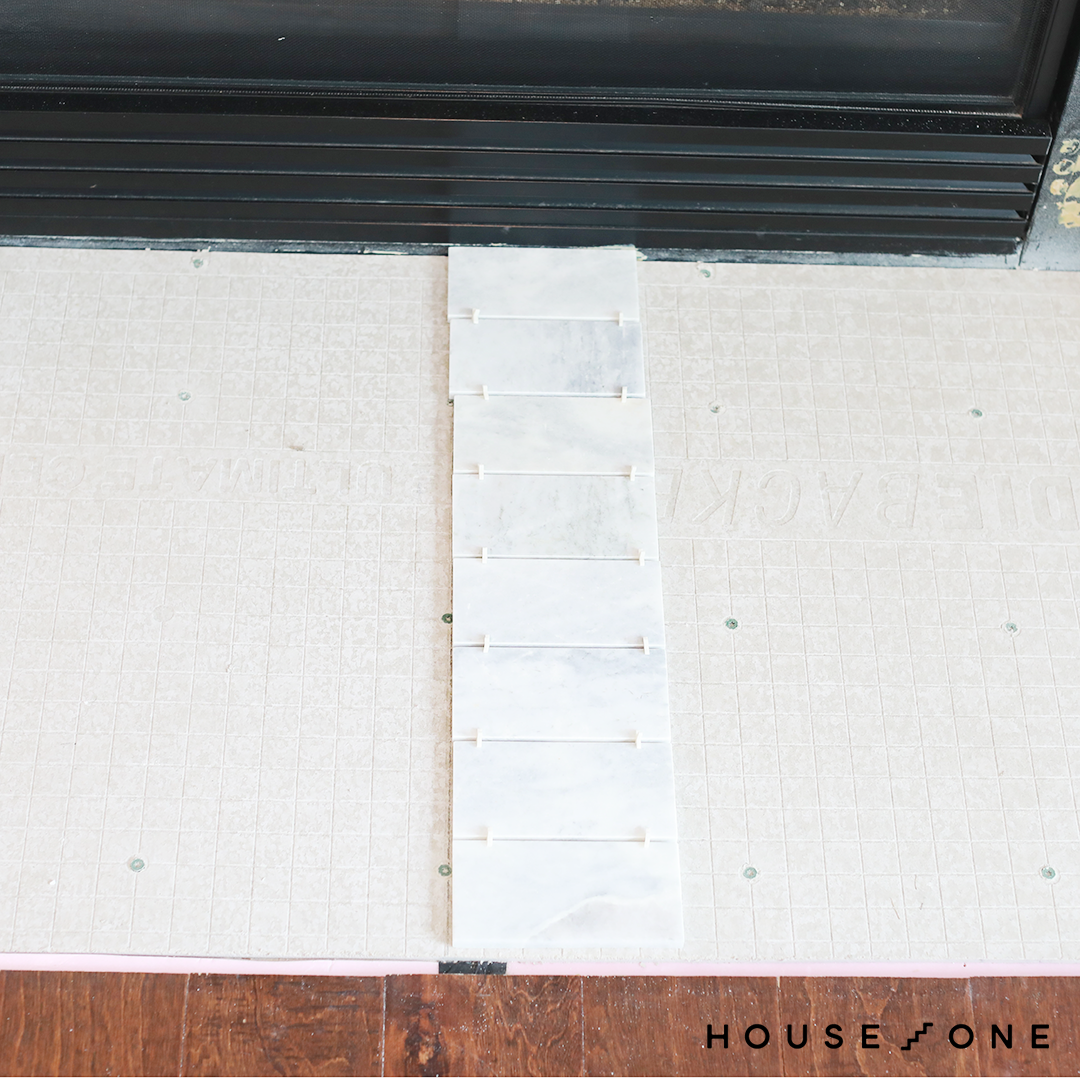
Lay out the individual tiles on the hearth using 1/8-inch spacers between them. This will help you determine the number of rows and tiles needed.
For the surround, create a cardboard template or use painter’s tape on the floor to visualize the mosaic sheet layout. This extra step will help you identify any potential issues before installation.
Step 2: Prepare the Mortar
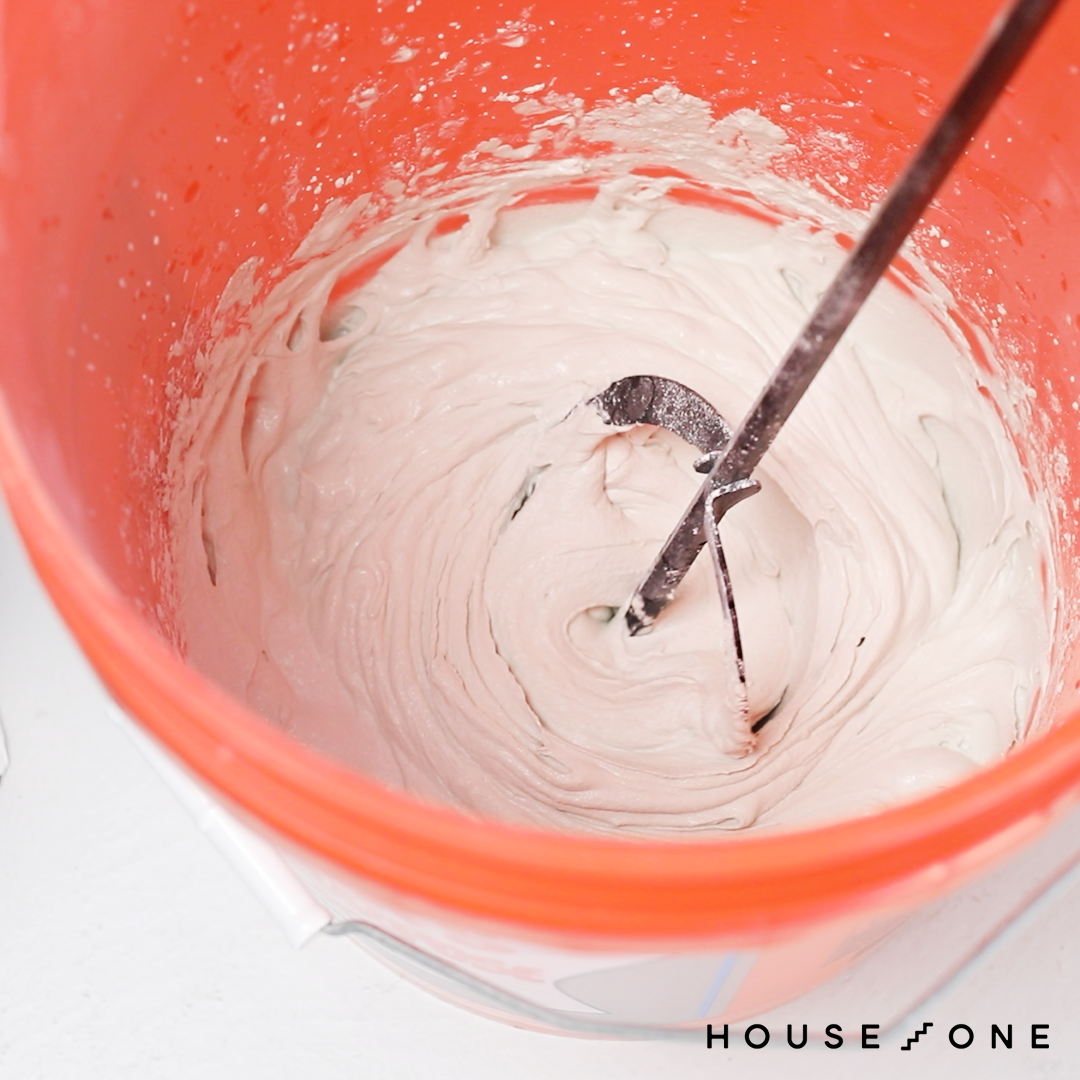
Mix the mortar for your hearth tiles according to the manufacturer’s instructions. Aim for a peanut butter-like consistency. Installing the hearth tiles first will provide a stable surface to work from when tiling the surround.
Step 3: Spread and Comb
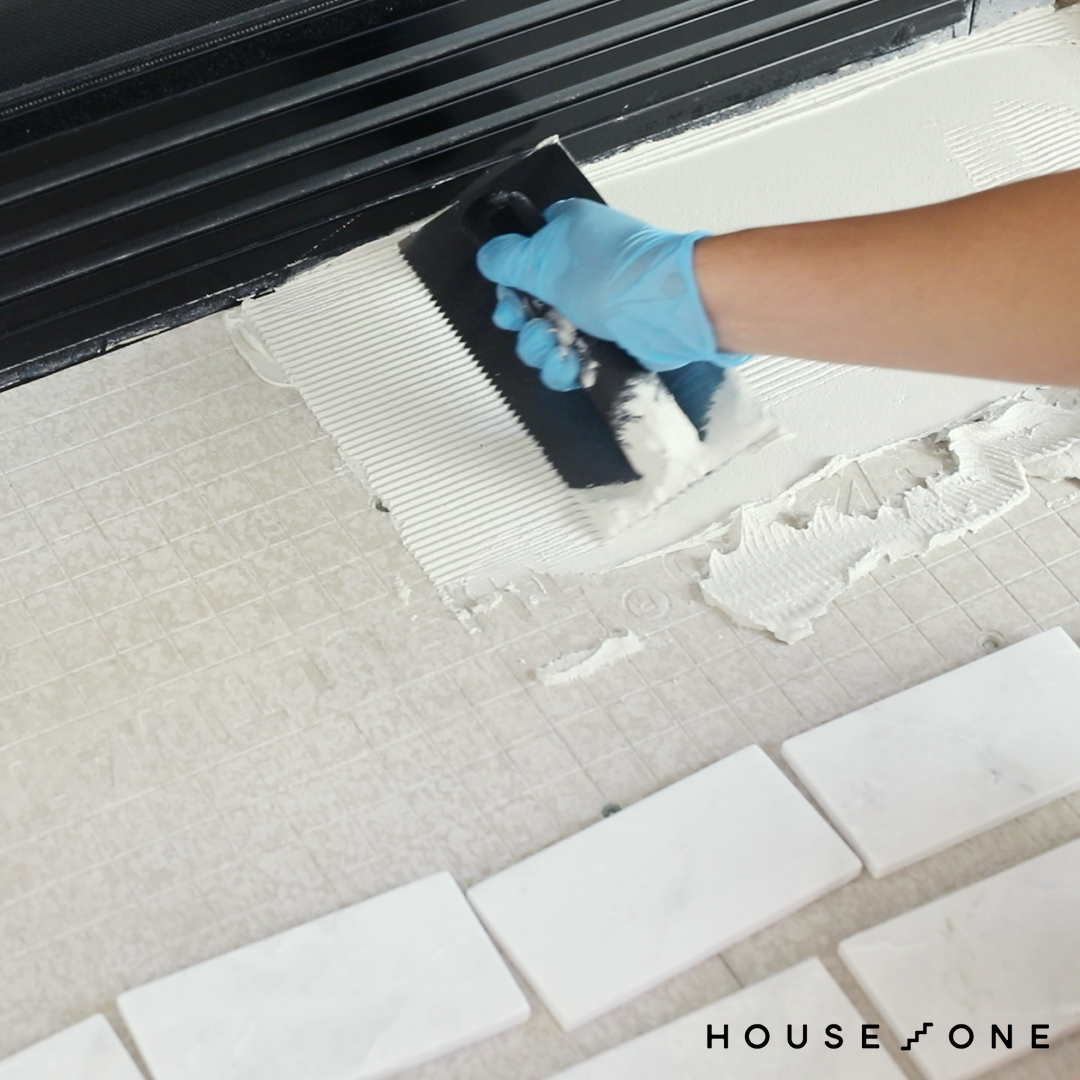
Spread mortar on the hearth using the flat side of the trowel. Then, comb ridges into the mortar with the notched side of the trowel.
Step 4: Lay the Hearth Tiles
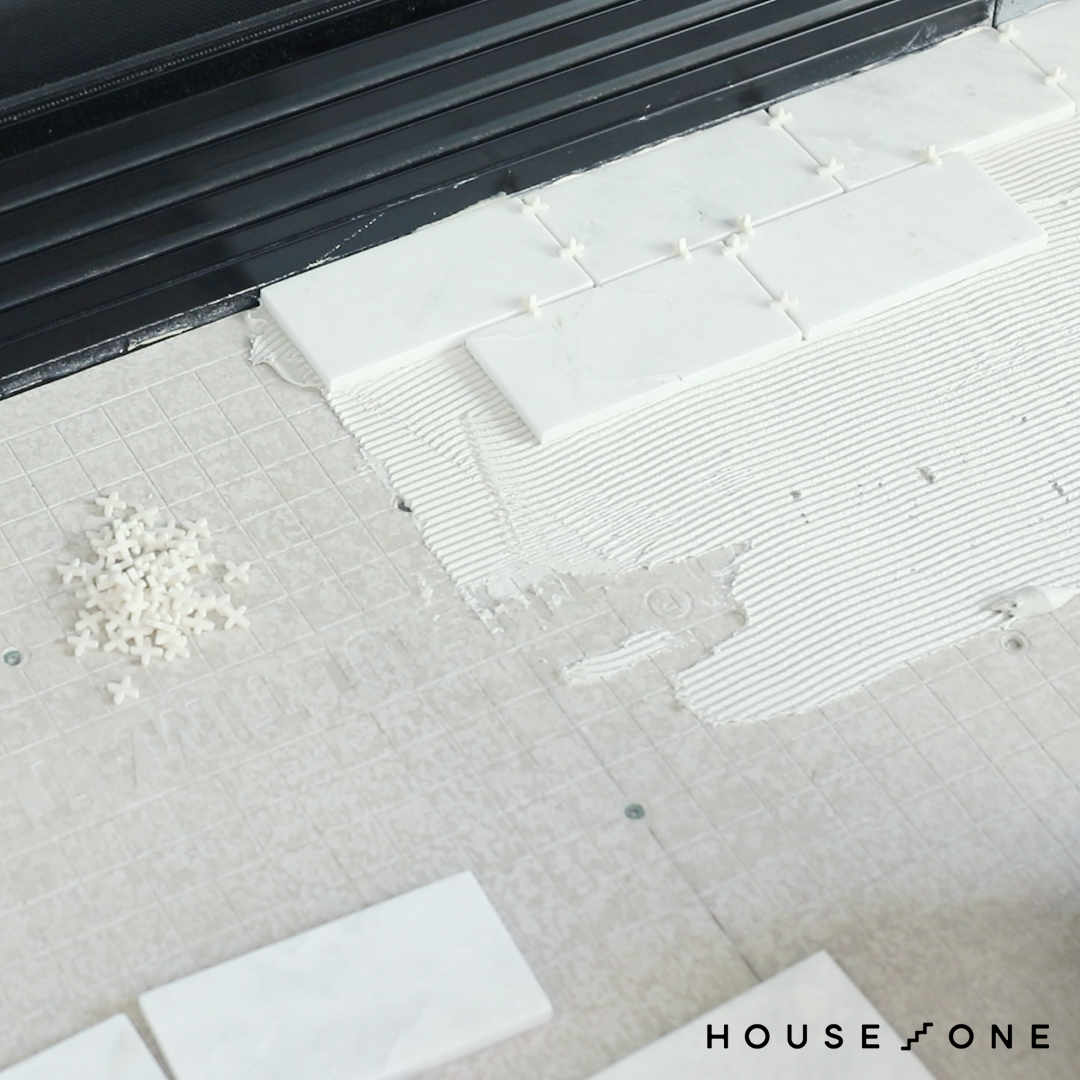
Place the first tile to the right of the centerline, pressing it gently into the mortar. Continue placing tiles in rows, using spacers to maintain consistent gaps. Offset the second row by half a tile width to create a brick pattern. Save hearth tiles that need to be cut for later, after tiling the surround.
Allow the hearth tiles to set overnight before proceeding to the surround. This curing period ensures that the tiles are solidly set and won’t move when you start working on the surround.
Step 5: Cut the Mosaic Sheets
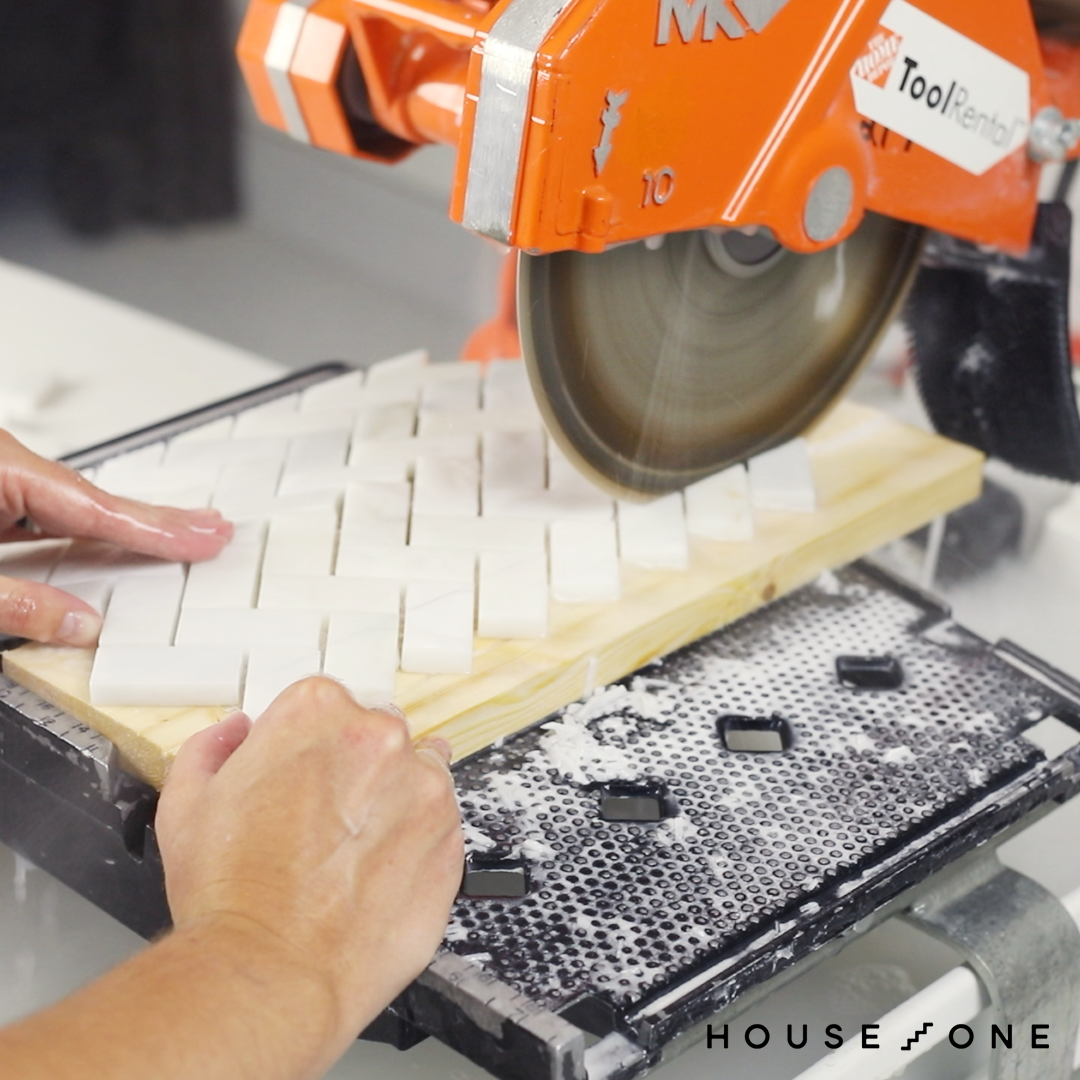
Use a tile saw to cut the mosaic sheets as needed. To prevent small tiles from falling into the saw’s deck, place a board under the sheet and adjust the blade height accordingly.
The surround for this project required more precision due to the herringbone pattern and cuts around the firebox. Largesse notes the herringbone pattern is challenging to install but worth the effort. However, you can simplify the process by choosing a larger or less complex pattern.
Step 6: Tile the Surround

Mix the mortar for your surround tiles according to the manufacturer’s instructions. Apply the mortar to the surround and comb horizontal ridges, as you did for the hearth.
Press the first mosaic sheet into place. Start in an upper corner to establish the alignment for both the top section and the first leg.
Continue cutting and installing sheets, working your way down and across the surround. Pay special attention to closing gaps between sheets for a seamless look.
Step 7: Finish Tiling the Hearth
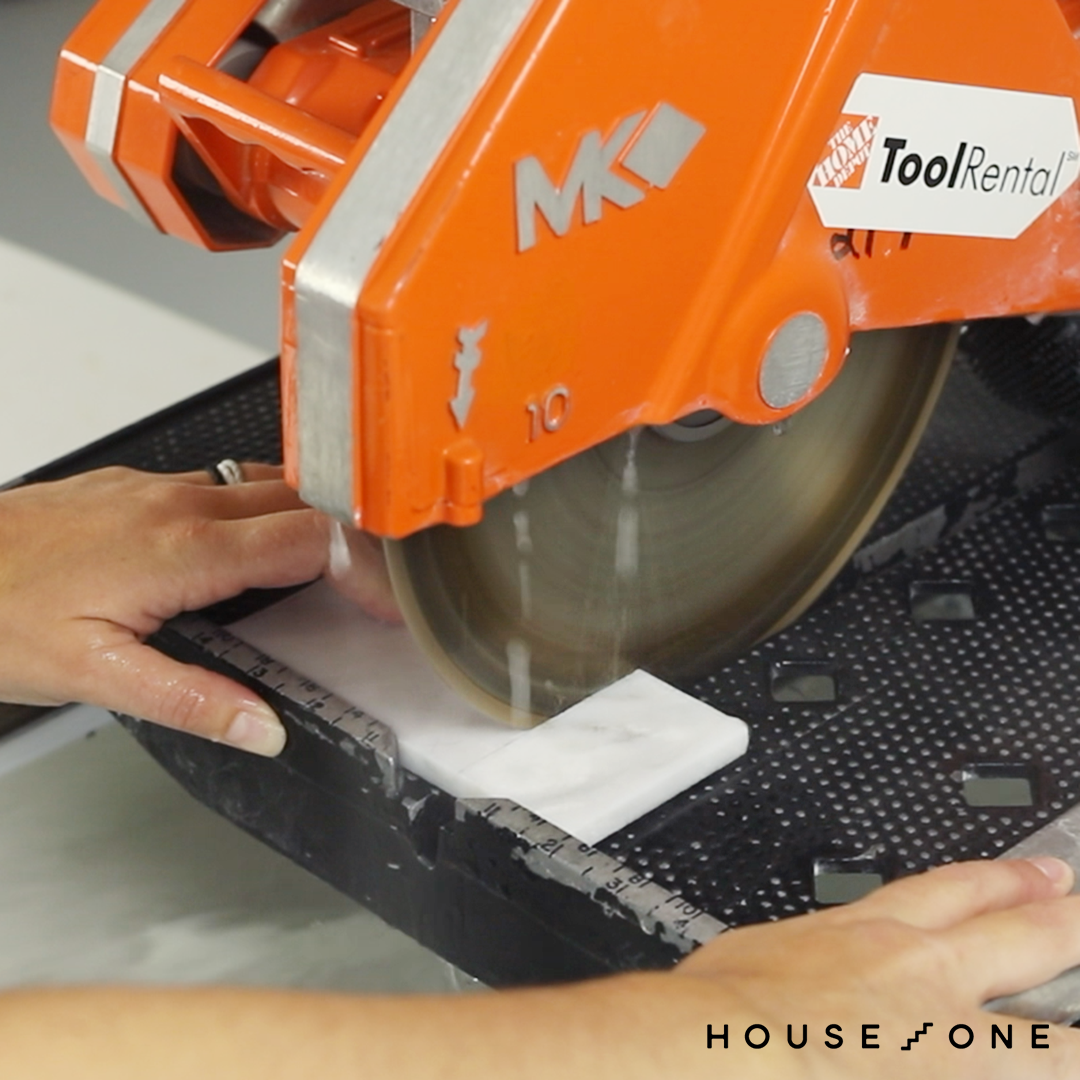
Depending on the size of your tiles and your hearth design, you may need to trim a few tiles to fit neatly at the ends of different rows. Others may need to be cut into an L shape to wrap around corners.
Use the tile saw for any hearth tiles that need to be cut. Then, spread mortar on the back of each tile, comb a groove, set the tiles into place, and add spacers.
Step 8: Grout the Tile
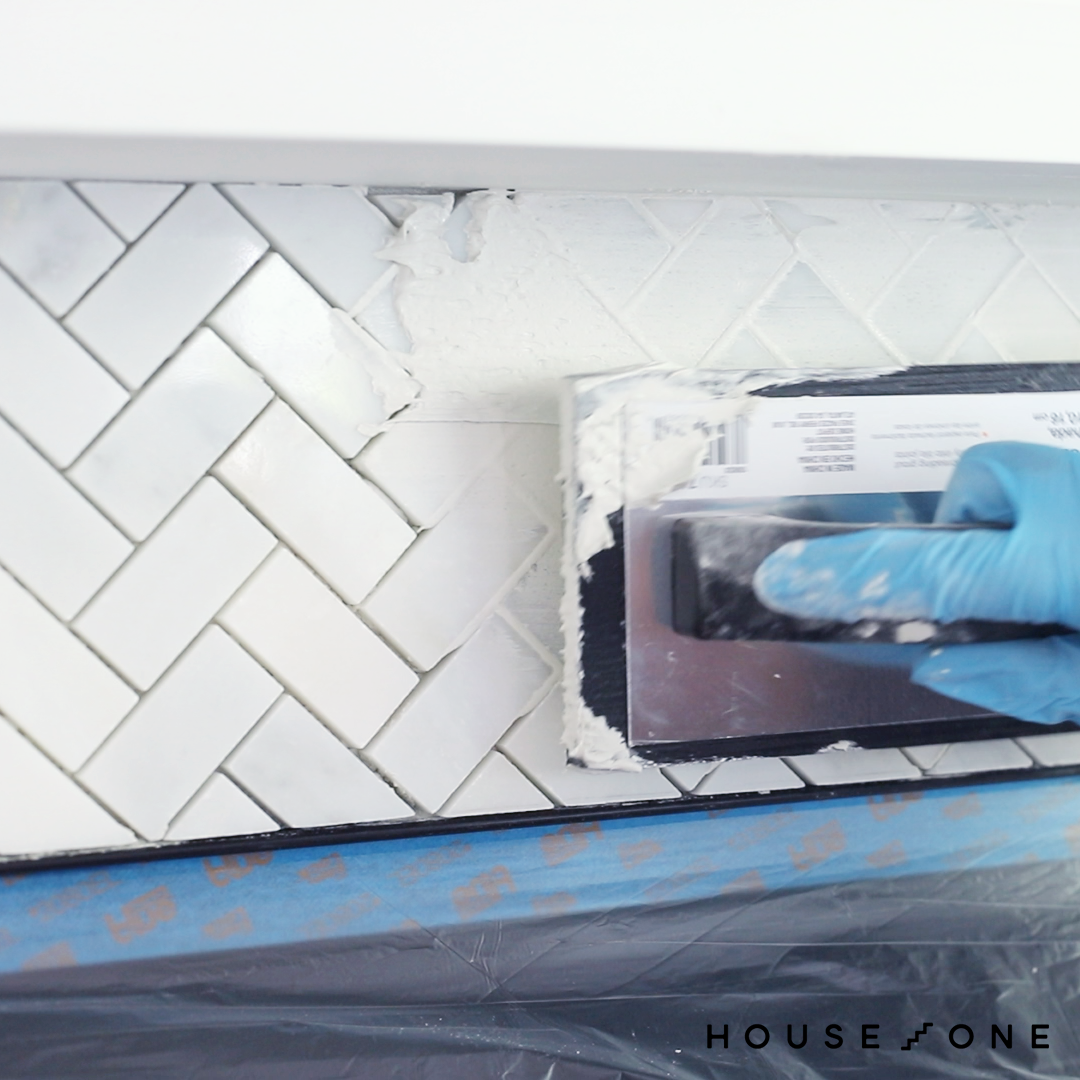
After the tiles have fully set, it’s time to grout. Remove the spacers and cover the hearth with plastic to protect it while grouting the surround.
Prepare non-sanded grout according to the package instructions, then use a grout float to press grout into the joints, working diagonally across the tiles. Hold the grout float at an angle and run it across the tiles to remove excess grout.
Step 9: Clean and Seal the Tiles
After 20 minutes, clean the tiles with a damp sponge, being careful not to introduce too much water. Once the grout has dried completely, buff off any haze with a microfiber cloth.
Clean the tiles one final time with a damp cloth and let them dry for a few days. Apply several coats of tile sealer for added protection. Finally, to complete your fireplace makeover, replace any floor trim and molding that was removed. You can also consider installing a custom built-in shelving unit on either side of the fireplace, as Largesse did.
Important Tips for Success Tiling Your Fireplace
Achieving a successful tile installation requires careful attention to detail. Here are a few tips to keep in mind:
- Measure twice and cut once: Accurate measurements can save you a lot of hassle and material waste. Always double-check before making any cuts.
- Work in small sections: Applying mortar to large areas can cause it to dry out before you set the tiles. Working in smaller sections will give you better control.
- Maintain consistent gaps: Using spacers ensures uniform gaps between tiles, which is essential for a professional finish.
- Clean as you go: Immediately removing excess mortar and grout makes the final cleaning much easier and prevents any accidental damage to the tiles.
- Plan for potential adjustments: Be prepared to make minor adjustments as you go along, especially when working with natural materials like marble that may have variations.
To maintain your newly tiled fireplace, regularly dust the tiles with a soft cloth. Clean soot or smoke stains with a gentle, pH-neutral cleaner. If you go with marble tiles, avoid using abrasive cleaners or scrubbers.
Our Conclusion
Tiling a fireplace surround is a challenging but rewarding DIY project. Whether you opt for marble or another type of tile, this project can add a personal touch to your living space and even boost your home’s value.
With careful planning, the right tools, and attention to detail, you can achieve a beautiful, custom look. Remember to take your time, especially when working with intricate patterns like herringbone, and don’t hesitate to seek professional help if you encounter any difficulties.