
Whether you’re refinishing furniture, preparing walls for paint, or polishing metal, choosing the right sandpaper will give you a smooth, polished surface. We’ll teach you what to look for and how to use it in this guide.
Selecting an Abrasive Material
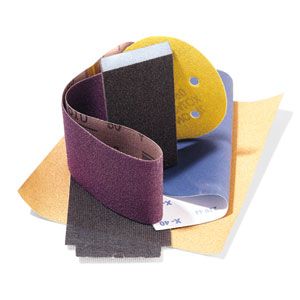
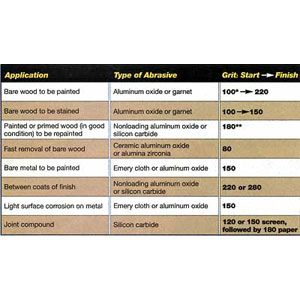
Most sandpaper you’ll find in a hardware store uses synthetic abrasives for its scratchy power. Each one has a different sharpness level and some are more long-lasting than others. Here are a few choices you might see:
- Aluminum oxide: This versatile abrasive is great for hand or power sanding on wood, paint, or metal. While not as sharp as other options, it lasts longer.
- Silicon carbide: Silicon carbide is extremely hard and sharp, making it ideal to smooth joint compounds and remove dust nibs between coats of finish. It’s available in extra-fine grits to use when wet sanding final finish coats.
- Ceramic: Ceramic is tougher and more durable than other adhesives, and you’ll commonly find it bonded with aluminum oxide.
You can also find sandpaper that uses natural materials. Garnet is ideal for bare wood, but it dulls quickly compared to ceramic. Similarly, emery is good for sanding and polishing delicate metal, but it’s too soft for other projects.
Decoding Sandpaper Grit Ratings
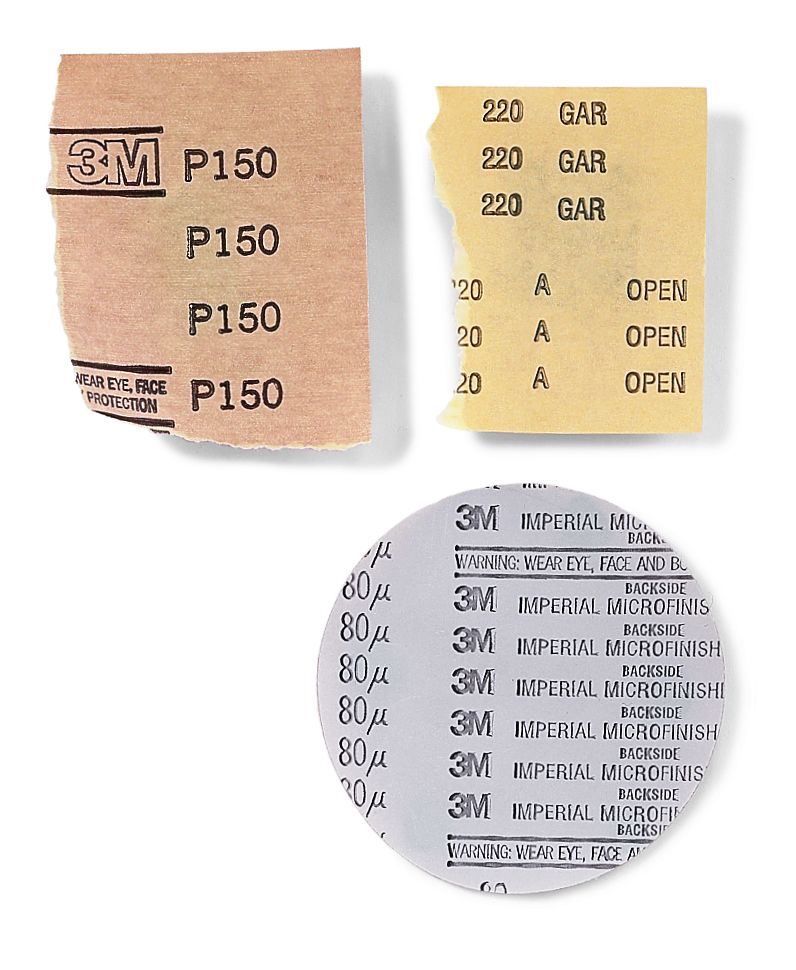
Sandpaper grit ratings tell you the size of the abrasive particles. In the US, sandpaper manufacturers typically use the Standard Scale, where the grit gets finer as the rating gets larger.
Here are some different kinds of grits you might find and what they work best for:
- Coarse grits (40-50): Coarse grits help to remove paint or varnish, smooth rough lumber, and shape wood quickly. You can also use them on metal to remove rust from the surface.
- Medium grits (60-100): Medium grits work for general-purpose sanding. They can help remove scratches from coarser grits, smooth wood before you paint or stain it, and sand between coats of paint and varnish.
- Fine grits (120-220+): Fine grits let you polish metal surfaces and sand wood between coats of finish. The finer you go, the gentler the sanding job.
The Basic Technique
When you’re hand sanding, always go in the direction of the wood grain to avoid making conspicuous scratches. Use even pressure with long, smooth strokes. Check your work regularly through the process, and use a new sheet of sandpaper once the old one wears down.
Above all, don’t oversand. Excessive sanding can damage the material or make the surface uneven. Only sand as much as is necessary to get the smoothness you want.
Using Sandpaper on Wood
Start sanding wooden pieces with 80-grit to remove surface imperfections. Then follow up with incrementally finer grits: 100, 120, 150, 180, and finally, 220. Each successive grit erases the scratches of the coarser one before until the scratches become undetectable to the eye and touch.
You may be tempted to skip a grit in the sequence, but This Old House master carpenter Norm Abram would encourage you to think twice. “People get impatient,” he says. “They think a surface feels okay, but after the finish goes on, every flaw and scratch pops out.”
Using Sandpaper on Metal
Use aluminum oxide or silicon carbide sandpaper for metal surfaces. Start with a coarse grit to remove rust or old paint, then progress to finer grits for smoothing. Very fine grits at the end of the sanding job will give you that satisfying polished finish.