Project details
Skill
Cost
Estimated Time
Whether you need to steal a glance as you dash out the door or want a place to stash a reminder note, this shutter mirror could be just the ticket. We repurposed an old pair (these were $1 each at a yard sale) and mounted them on ½-inch plywood with an inexpensive mirror (about $30) centered in between. Orienting the louvers upward provides slots for slipping in notes or cards, or even hooking on small baskets. Adding panel details lends architectural character, and a coat of paint unifies the parts, making this one looking glass that’s a real looker.
Tie project parts together with paint (we used Behr’s Windwood Spring).
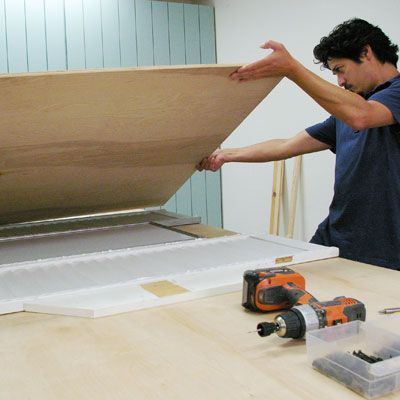
Step 1: Position the Parts
Lay the mirror and shutters facedown on the worktable; the bottoms of the louvers should point downward. Screw blocks into the table along the outside edges of the shutters to hold the three pieces snugly together while you work.
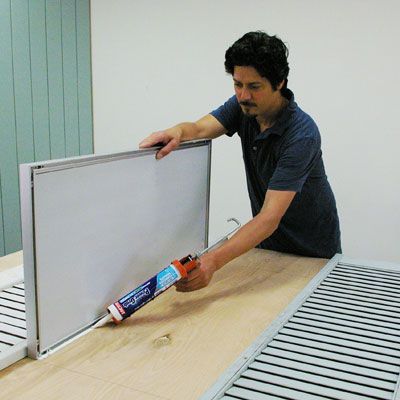
Step 2: Attach the Plywood
Measure the width and length of all three pieces together and cut a sheet of ½-inch plywood slightly smaller than the dimension. Apply a bead of panel adhesive around the entire back frame of the shutters, and center the plywood on top.
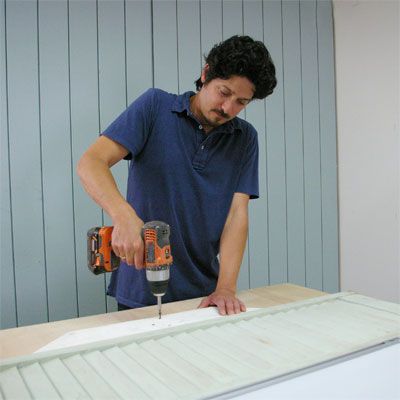
Step 3: Reinforce the Back
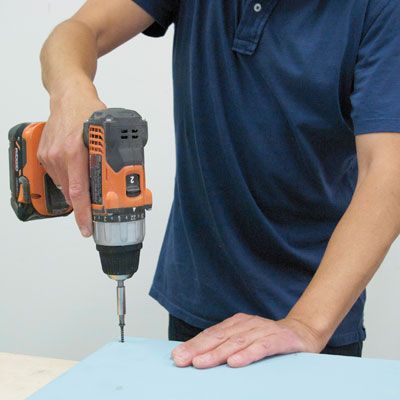
Fasten the plywood to the backs of the shutters with a 1¼-inch drywall screw in each corner, adding additional screws every 12 to 16 inches.
Step 4: Adhere the Mirror
Carefully flip the attached assembly faceup. Slide the mirror to its final position and mark its location. Lift the mirror and apply panel adhesive to the plywood between the marks. Set the mirror in place, adhering it to the plywood.
Step 5: Frame Out the Panels
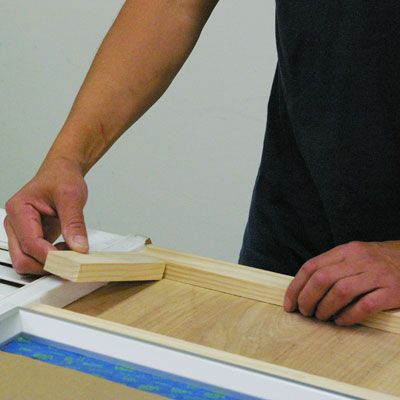
Make the top and bottom rails of the panels by fitting and cutting 1x3s between the shutters, along the mirror’s edge. Trace, cut, and fit 1x3s between the top and bottom rails to make the vertical stiles.
Step 6: Adhere the Panels
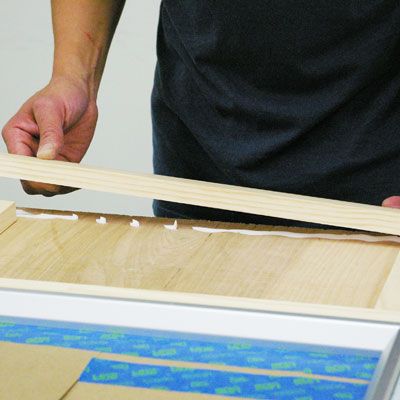
Glue panel pieces in place with adhesive. Repeat steps for the other panel.
Step 7: Make the Initial Trim Cut
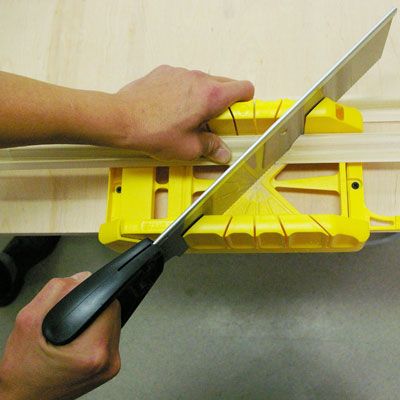
Miter the end of a length of base-cap molding so that the 45-degree angle is directed inward following the profile taper.
Step 8: Trim Out the Panels
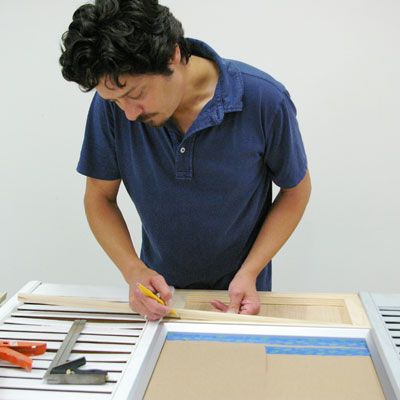
Position the mitered molding at the inside corner of the panel and mark where to miter the opposite corner. Repeat measuring and cutting molding until all four sides of the panel are trimmed. Do the same for the panel on the other side of the mirror.
Step 9: Adhere the Trim
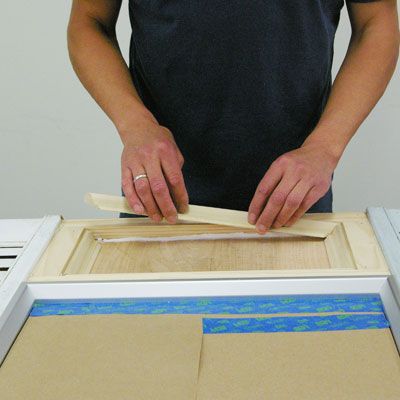
Dry-fit all the trim pieces, then remove. Add adhesive, and glue in place.
Step 10: Finish the Shutter Mirror
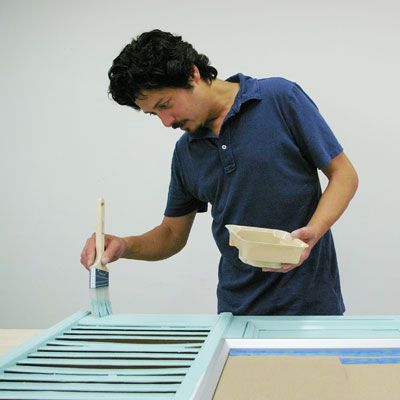
Fill any open joints, nail holes, and imperfections with wood filler. Lightly sand with 220-grit sandpaper. Prime and paint the entire assembly.
Tools
Tools & Materials
 Drill/driver
- Circular saw
- Caulk gun
- Combination square
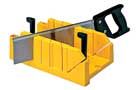
- Miter box
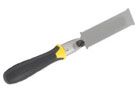
- Flush cut saw
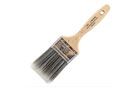
- paint brush – 2 1/2-inch