Project details
Skill
Cost
Estimated Time
Steps for Building a Dog Bowl Stand
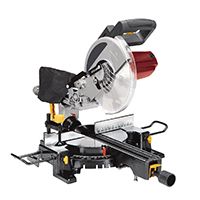
- Start by cutting the 1×10 boards to size on the miter saw to act as the two legs.
- Cut the 1×12 board to size on the miter saw to act as a top.
- Outline an arch on the bottoms of the two legs to give them more shape. Using a drill or a drill press, drill two pilot holes at the top edges of each arch so you’ll have a consistent, rounded edge.
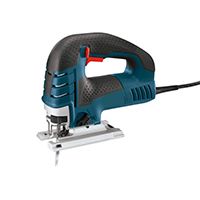
- Cut out the remaining wood inside the arch using a jigsaw.
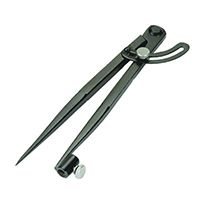
- Use a compass to trace out holes on top of the 1×12 piece to hold the food bowls. Make sure the holes are wide enough to fit the bowls, but not so wide that the lips of the bowl won’t catch on the top.
- Drill pilot holes in the top of the bowl to fit the jigsaw blade in.
- Cut out each circle for the top of the dog bowl stand using the jigsaw.
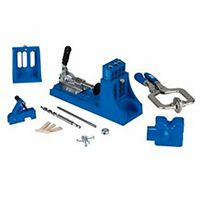
- Assemble the stand using pocket hole screws. After drilling the pocket holes but before screwing everything together, give all the boards a good sanding.
- Apply a wipe-on polyurethane to the sand using a rag.
Resources:
Tom taught Camilla to build the dog bowl stand out of materials that can easily be found at any home center.
For the legs and top, Tom used 1×10 and 1×12 select pine, which can be found at the home center. He bought boards with two separate dimensions so that he didn’t have to use the table saw, which is a more advanced tool for children. To cut the boards to length, Tom had Camilla use the Kapex 120 sliding compound miter saw, which is manufactured by Festool.
To cut the holes in the legs and for the dog bowls, Tom had Camilla use a jigsaw with a fine tooth cutting blade.
To assemble the stand, Camilla used the Kreg Jig K4 pocket hole jig set, which is manufactured by Kreg Tools.
For the finish, Tom and Camilla applied a Watco Wipe-On Polyurethane with a rag, which is manufactured by Rust-oleum.
The dog bowls can be found at any pet supply store.