Project details
Skill
Cost
Estimated Time
Expert painter Mauro Henrique teaches Kevin all about painting wood paneling. When Kevin asks if folks are right to be nervous about painting wood paneling, Mauro explains that it’s possible, and although it might not be the traditional take on paneling, it’s up to the homeowner. Then, the two set out to roughen the surface of a panel wall with a bit of sandpaper.
Popular Types of Wood Paneling
Mauro has brought samples of two different types of paneling that are common in old houses:
- Wainscoting: Decorative, square paneling with stiles, rails, and an inset panel. It is common in dining rooms or other more formal areas.
- Beadboard: Vertical paneling that adds texture to a wall, and includes lots of detail and narrow panels.
Ways to Apply Paint to Wood Paneling
Paint sprayer
Mauro always recommends a paint sprayer because it’s the best way to do a professional paint job. That being said, if there was ever a perfect project for a paint sprayer, it’s the beadboard, because those little curves and bends are hard to get to with a brush or roller.
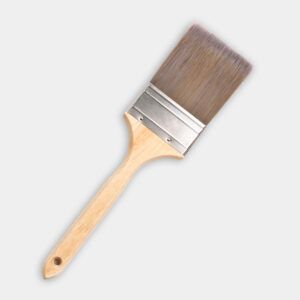
Paintbrush
A paintbrush is good for cutting around the edges of the wainscoting and for getting into the crevices of the beadboard.
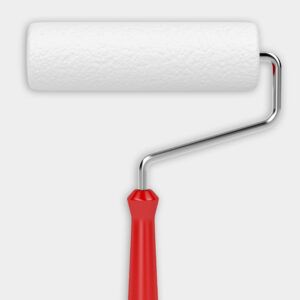
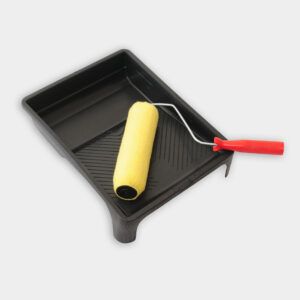
Paint roller
Use a paint roller for the fields of the wainscoting and for the most protruding surface of the beadboard. Mauro recommends getting a roller with a long nap to get deep into the crevices of the beadboard, and then going back through each crack with the paintbrush to get rid of drips and bubbles.
How to Paint Wood Paneling
With the sanding finished, Mauro shows Kevin how to apply a coat of primer to the paneling. With brushes and rollers in hand, they coat the entire surface, working the primer into the beadboard cracks and the moldings’ profiles.
After waiting an hour, the two brush and roll a coat of paint over the surface, ensuring that all cracks and crevices receive color. Once finished, Mauro explains that they’ll wait about two hours before coming back and applying the final coat for a beautiful finish.
Steps
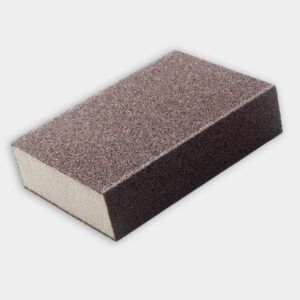
- With 220-grit sandpaper on a sanding block, roughen the surface of the paneling. Be sure to lightly scuff the profile of any moldings.
- Pour a bit of primer into a paint tray or cut bucket. Dip the brush into the primer and cut in, starting at the top and working downward. Brush primer into the cracks and crevices of the moldings, beadboard, or anywhere else a roller won’t reach.
- Load the roller sleeve with primer and roll it over the surface. Be sure to watch for drips and runs, taking care to even them out with the brush or roller. Allow the primer to dry for one hour (this is a good time to clean the brushes, rollers, and paint tray).
- After the primer is dry, pour some paint into the paint tray. Using a similar method as before, start by cutting in with the brush. Brush paint into the cracks and crevices, moldings, and other areas where a roller won’t reach.
- Before the brushed areas dry, load the roller with paint and coat the surface. Be sure to watch for drips and runs, evening them out with the roller or brush as they appear.
- Allow the paint to dry for around 2 hours (may vary, depending on the conditions) before applying a second coat.
Resources
To prep the wood paneling, Mauro used a sanding block with 220 grit sandpaper, which can be found at home centers.