Project details
Skill
Cost
Estimated Time
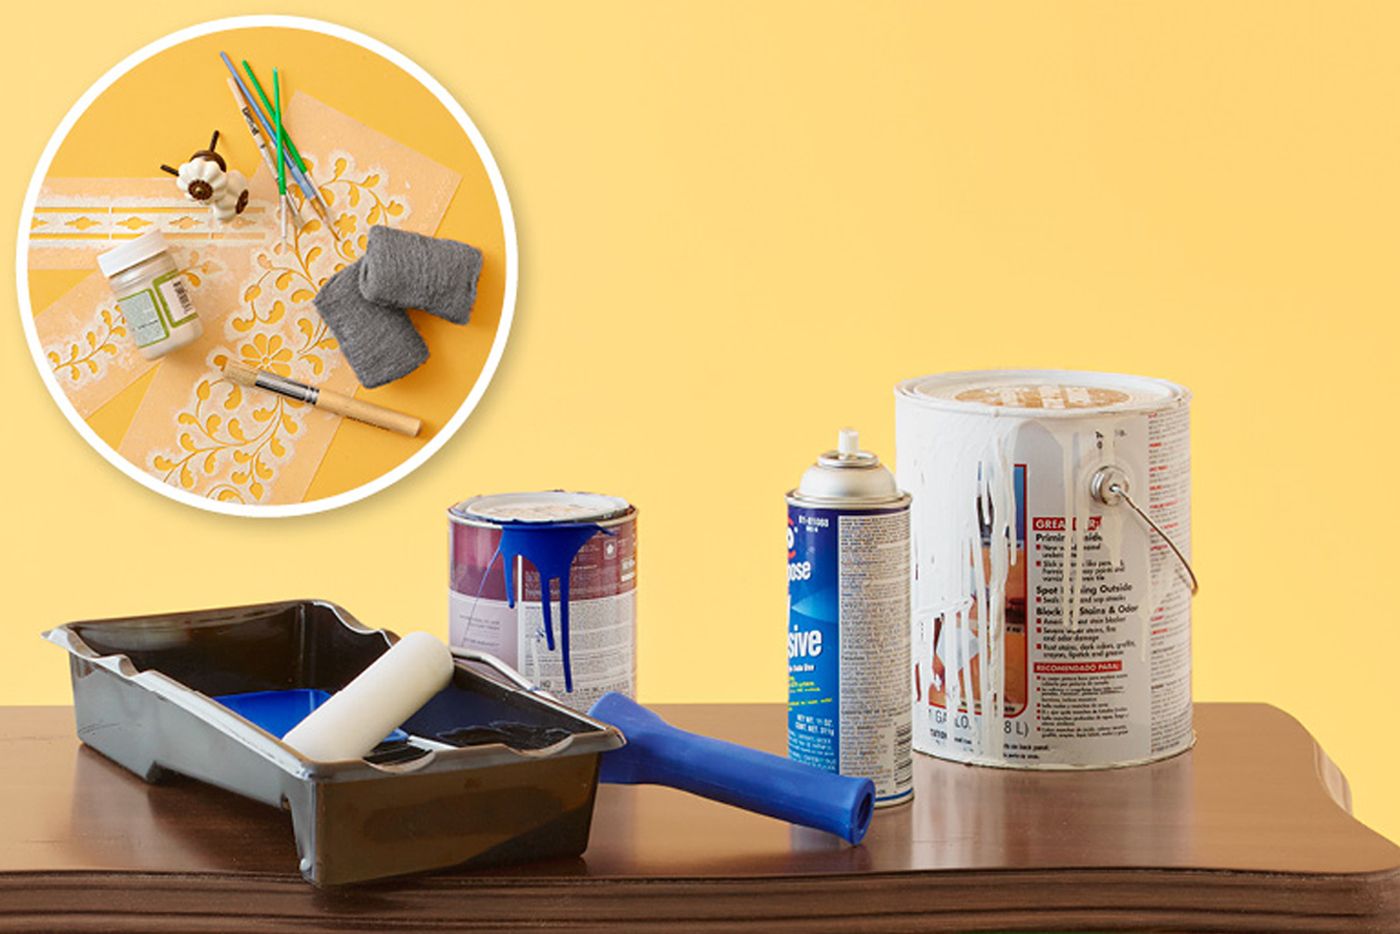
Tools & Materials
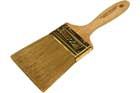
 Paint brush
- superfine steel wool
- stencils
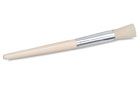
- pounce brush
- Wrench
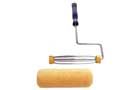
- Paint roller


In an afternoon, with a few kinds of paint and some stencils, you can breathe new life into an old dresser. This makeover relies heavily on proper preparation. A primer coat and a top coat form the base of the finish. Spray adhesive is the key to keeping the stencil put while using shimmery metallic paint.
Could you do better? It’s your turn to make use of any scraps you’ve got lying around, supplemented, of course, by one or three trips to the home center, to build a project of your own.
We’re calling it the #DIYDARE. Check out our examples to get inspired, then snap a photo and of your project and tag it #DIYdare when you post it to Facebook, Twitter, or Instagram. (HASH)Tag, you’re it.
Step 1
Overview for Building a Faux Inlay on a Plain Dresser
Tisha knows color—she finds the beautifully finished rooms that we feature in most of our stories. So she didn’t sweat pulling a jar of glitzy metallic paint from the box of #DIYDare supplies we left with her and Michelle, the staff furniture guru. Michelle wasn’t fazed either, knowing it was the ideal accent for the makeover of a dresser she had in her office.
“We can do a pattern and hack the look of a thousand-dollar inlay dresser,” Michelle said. Tisha was sold and suggested stencils to speed the process of creating the furniture’s intricate look. “It’ll be superfast and consistent,” she said. Tisha went stencil shopping online, and Michelle started clearing papers from her bowfront muse.
Like most paint projects, this one included important prep: a primer coat before a base coat. After settling on a pattern, Michelle dabbed on the metallic paint as Tisha positioned the stencils, and together they covered the dresser with glimmering detail.
“An amazing transformation with just a little paint,” Tisha pronounced once the stenciling dried. “And I’m thinking the perfect spot for that #DIYDARE trophy,” Michelle said.
Step 2
Prime the Dresser
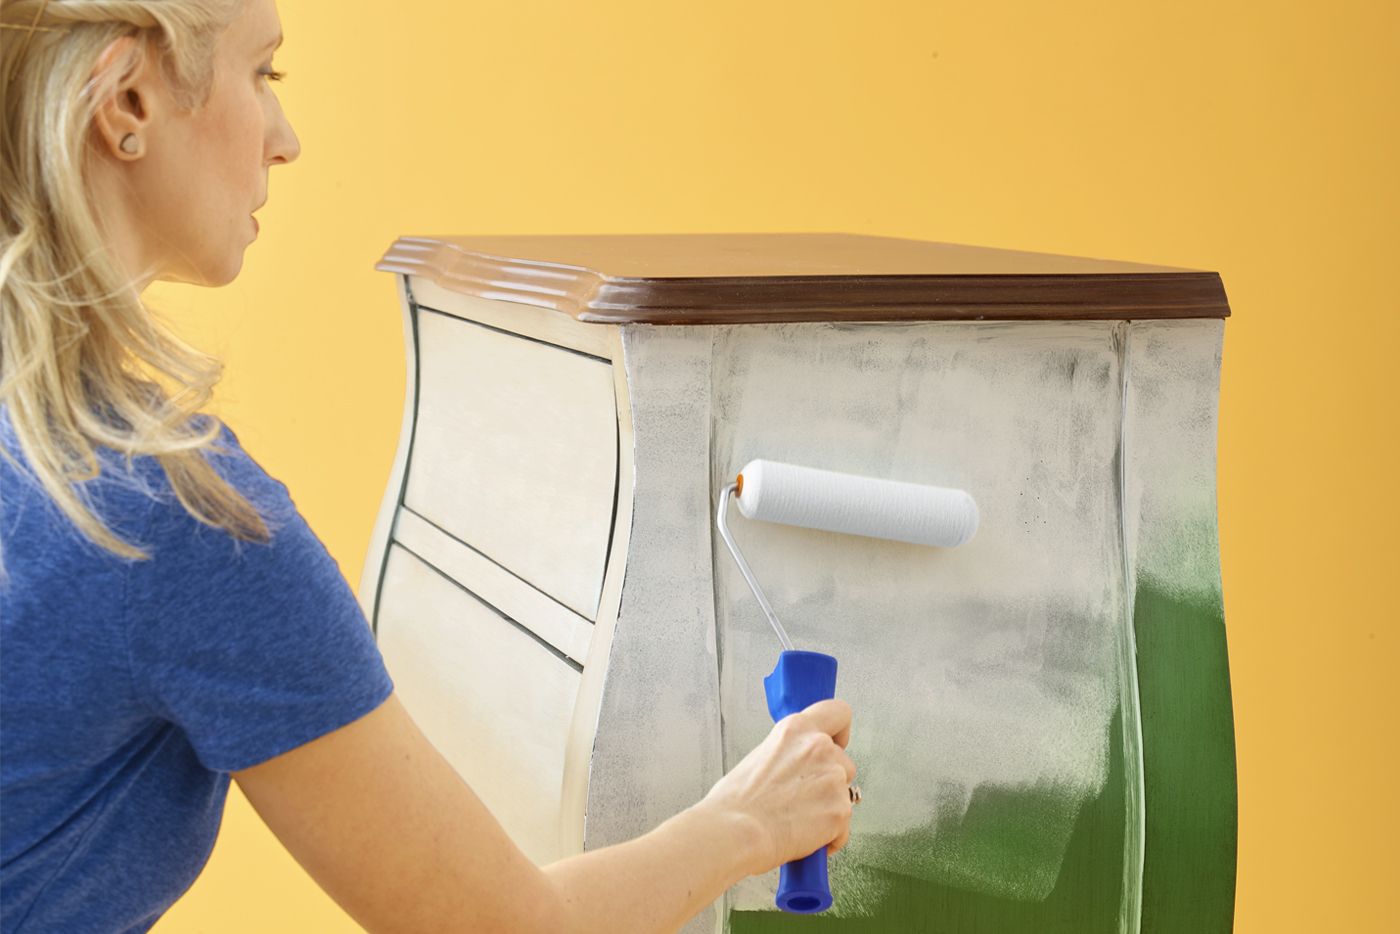
Remove the hardware and clean the dresser with soapy water, then dry it thoroughly. Remove any loose paint with a scraper. Then use a foam roller and brush to apply a primer coat of shellac-based primer to all the sides and the top.
Step 3
Paint the Dresser
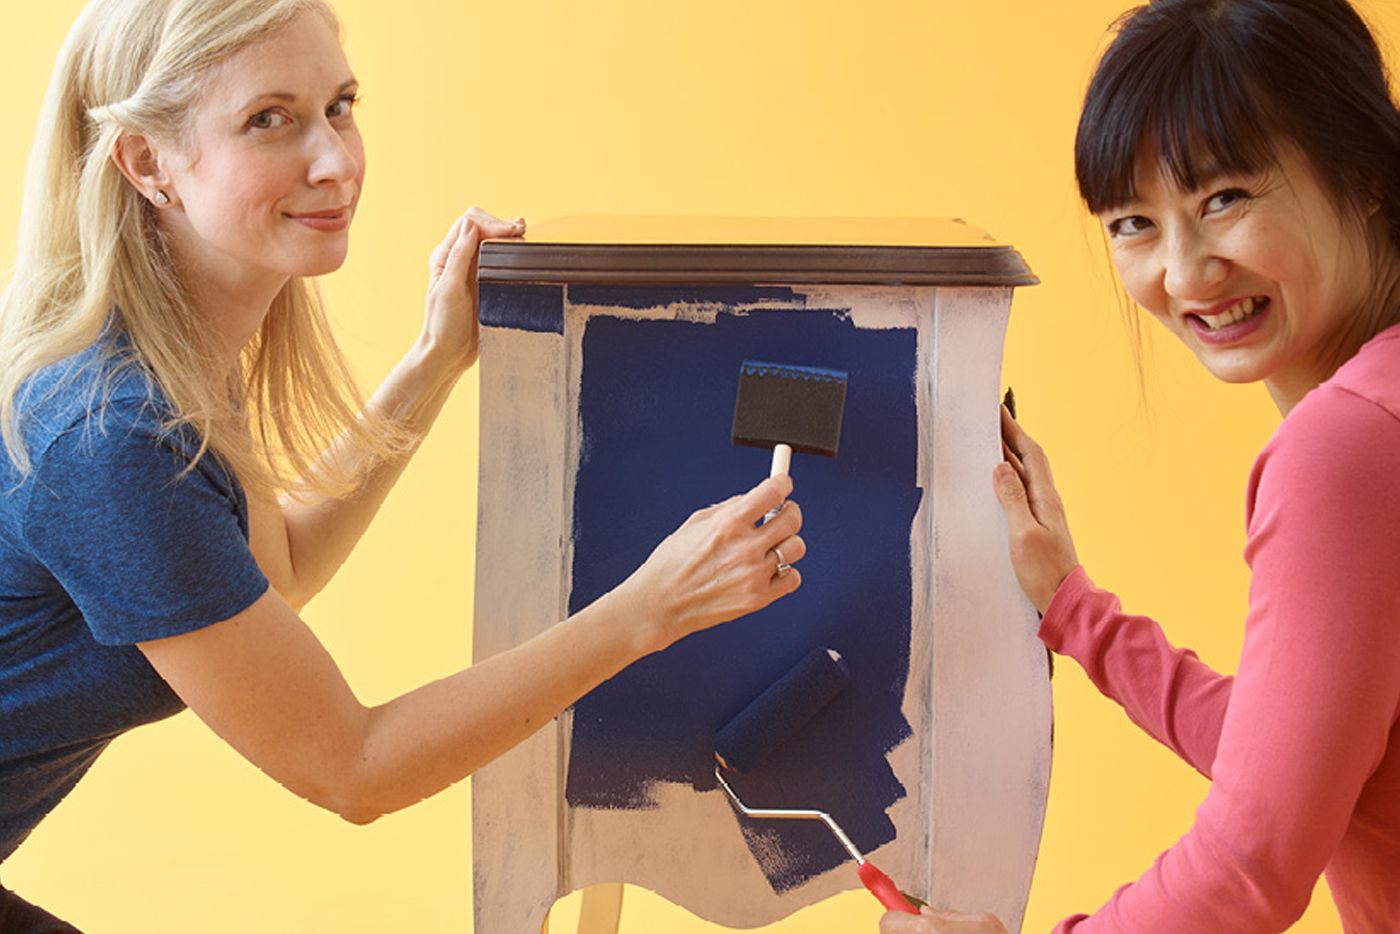
Once the shellac dries, rub the dresser with superfine steel wool (#0000) to smooth it out, then clean the surfaces with a damp rag. Use the foam roller and brush to apply a top coat of latex paint.
Step 4
Distress the Finish
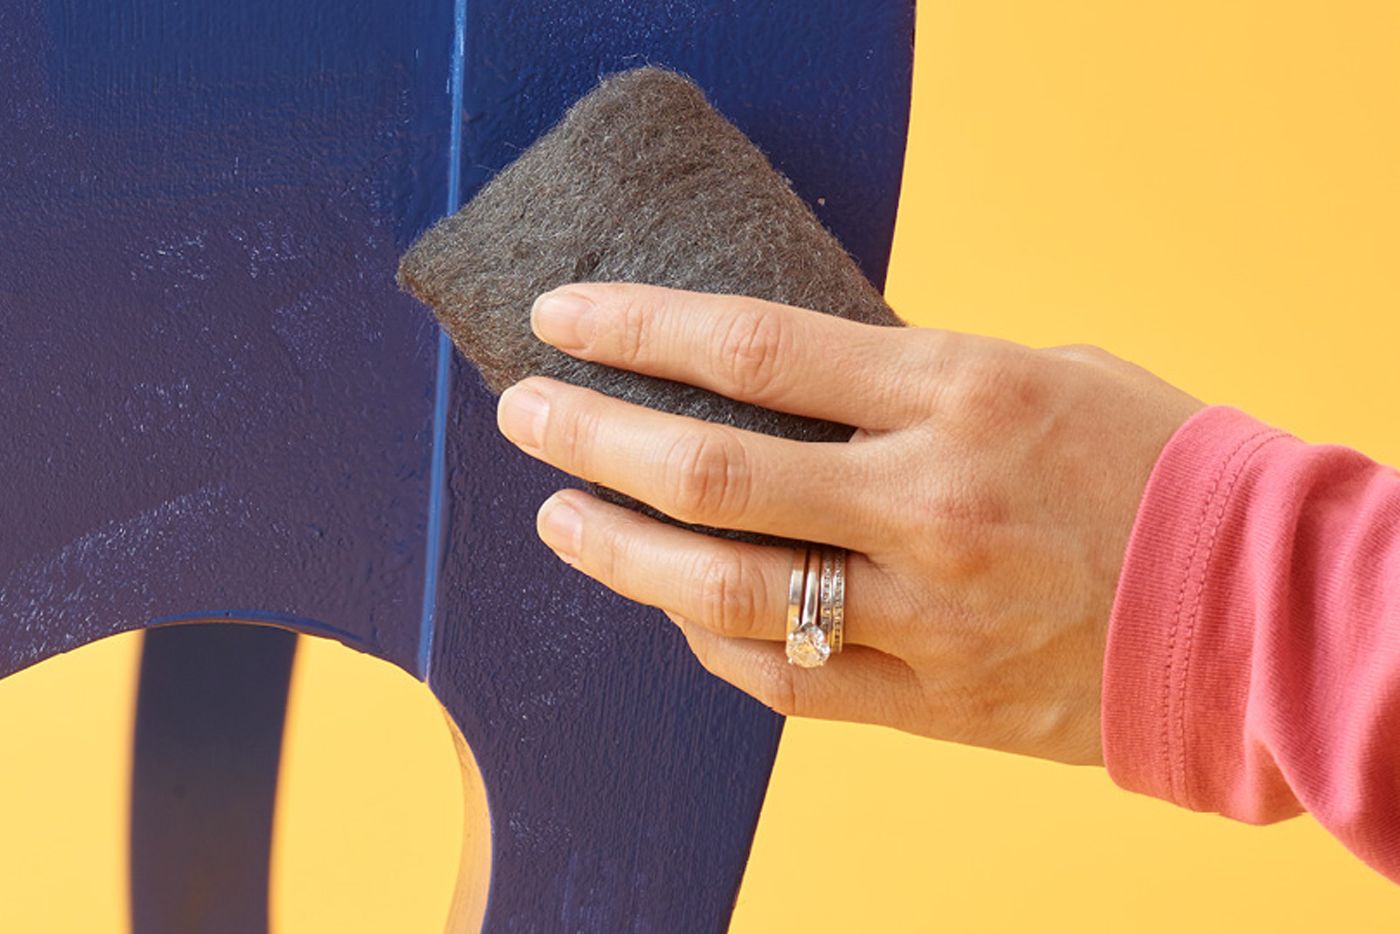
Once the paint dries, rub the dresser with the steel wool to distress the paint. Add a second coat if the base color is still visible.
Step 5
Apply the Stencils

Apply the stencils around the perimeter, then fill in the field. Spray the back of the plastic with adhesive, then press the stencil onto the dresser. Dab the cutout with a pouncing brush dipped in metallic paint. Once the pattern is complete, carefully peel up the stencil and reposition it to continue the border.
Step 6
Finish it Off with Hardware
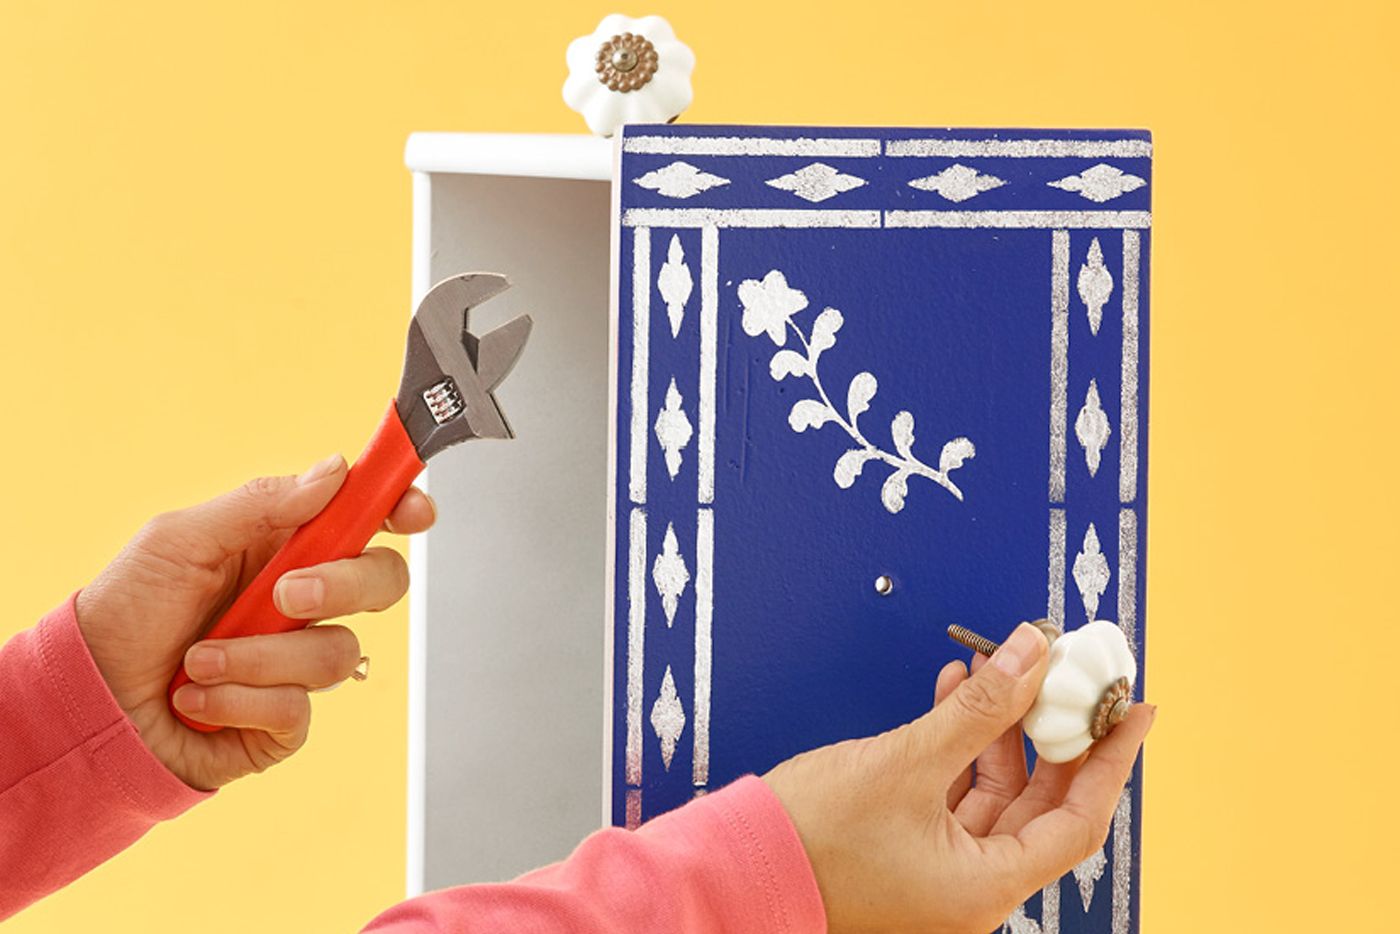
Remove the drawers and apply the stencil around the edges first, then go back and fill in the field. Finish off the drawers by upgrading the hardware.