Project details
Skill
Cost
Estimated Time
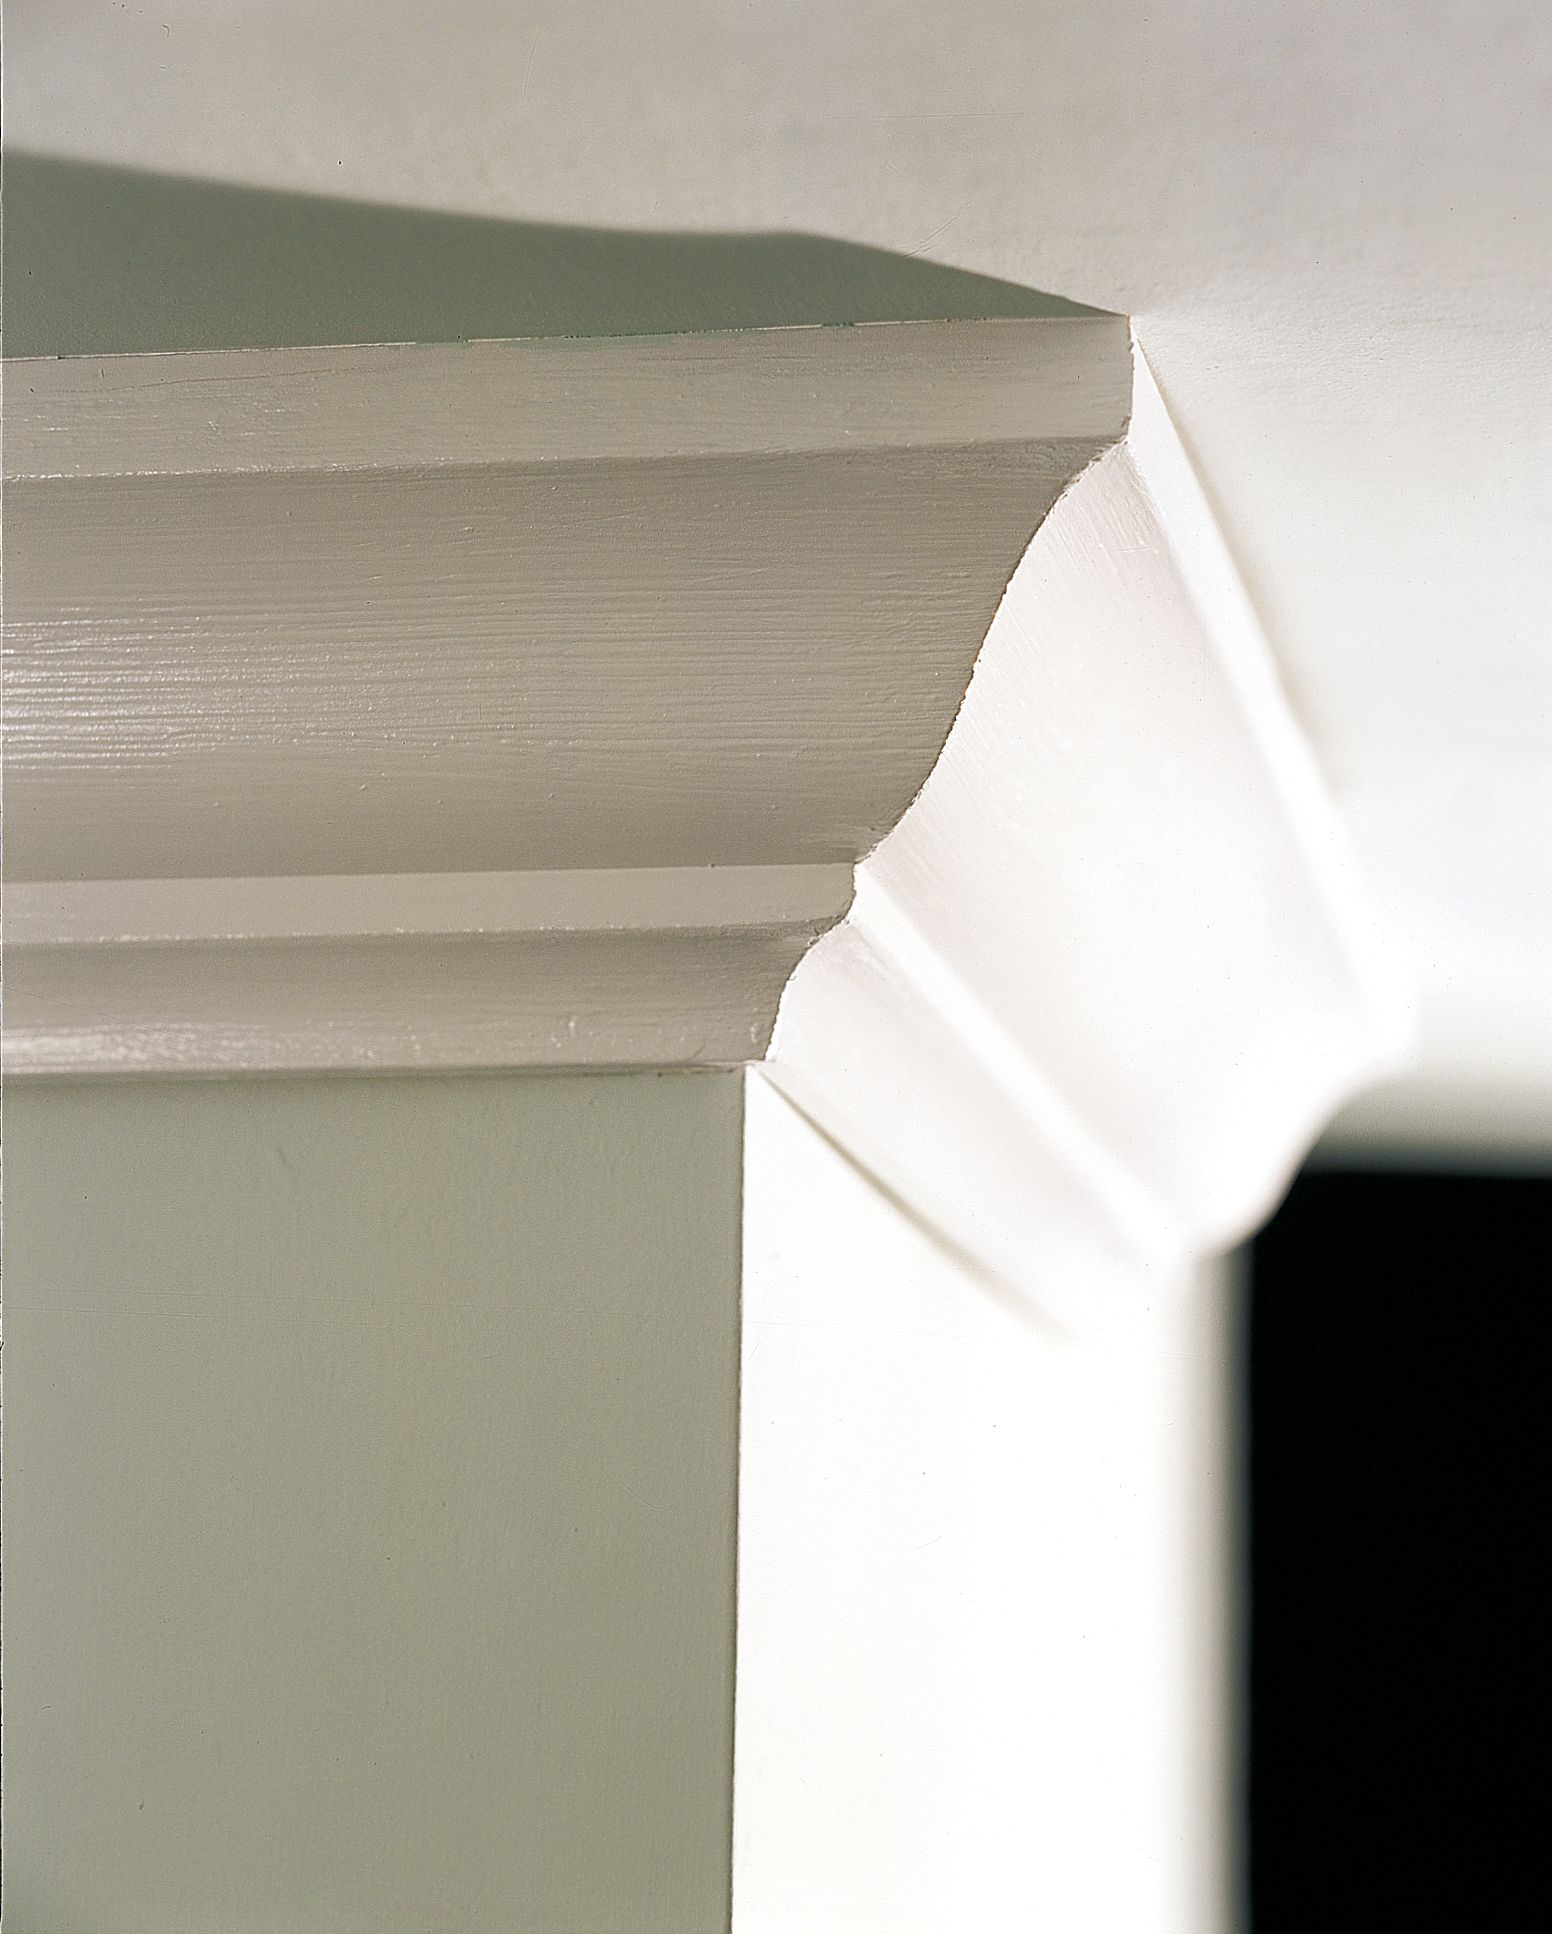
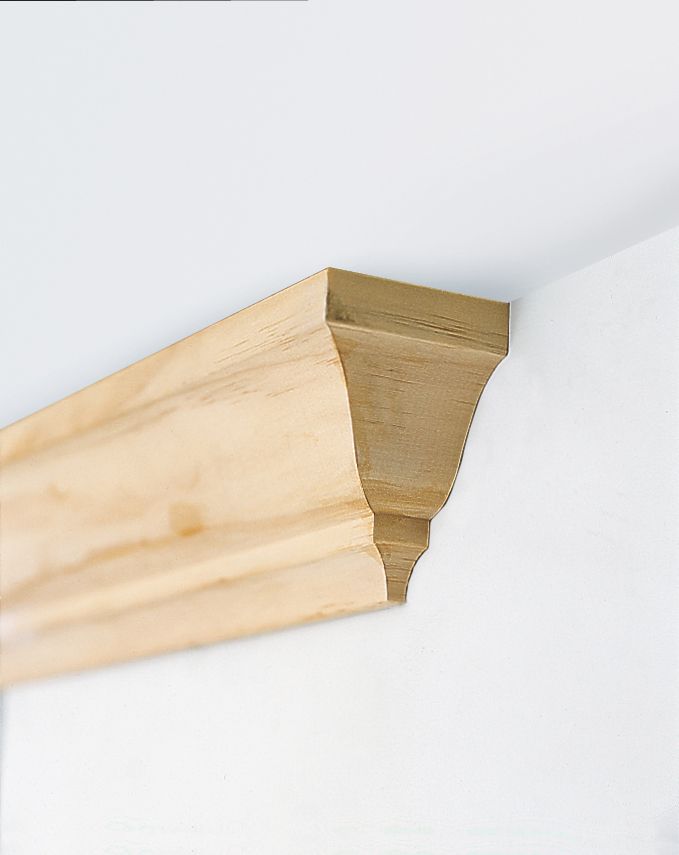
American new-home buyers have been conditioned to settle for the stripped-down model of Home, Sweet Home—houses lacking in crafted detail, missing, among other things, the gracious moldings that bring a timeless sophistication to any room. Primary among these is crown molding. The good news: Crown molding can be added without a big bill from the lumberyard or clouds of drywall dust.
Crown Molding Overview
There are some basic rules for installing crown molding that you can pick up anywhere, but the best way to master them is to watch a pro. When we asked Tom Silva to show us how he puts up crown, his 40 years of experience became evident right away. For one thing, he seldom picks up a tape measure, marking his cuts in place whenever possible. “Measuring leaves you open to miscalculations,” he says.
He also doesn’t lay the molding flat to cut it. Cutting crown flat, though it might seem easier, requires a saw that lets you tilt the blade (for the bevel) and rotate it (for the miter angle). You also need a set of tables to know the correct angles for the cuts.
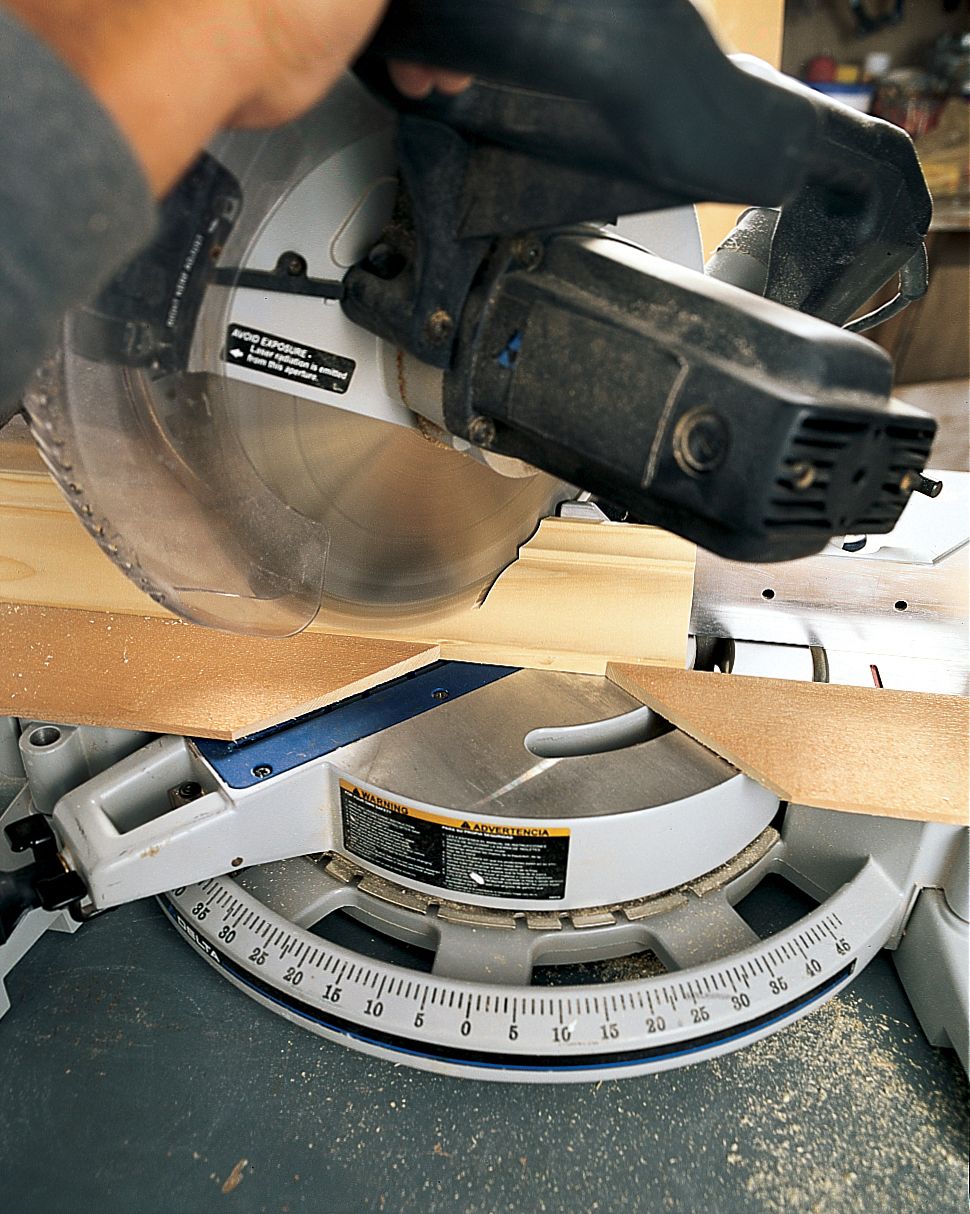
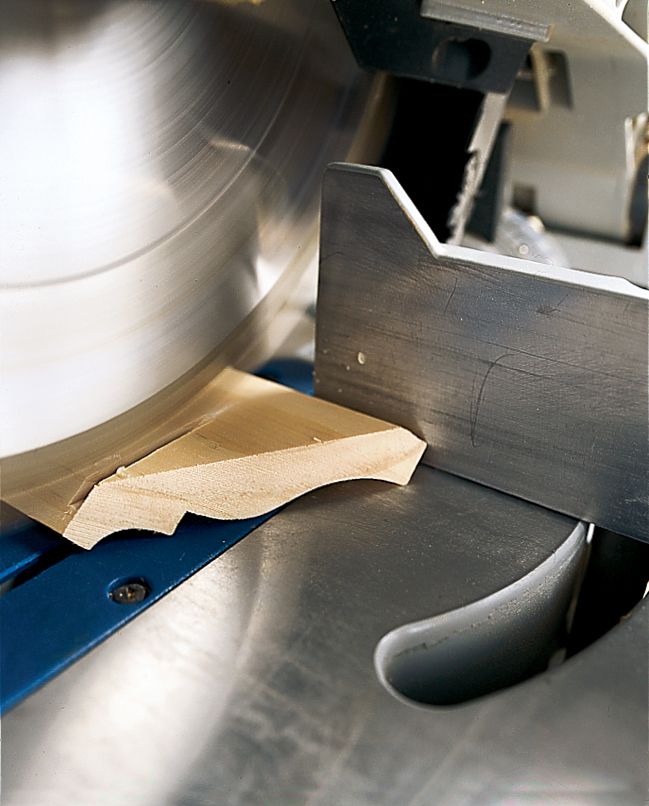
Instead, Tom uses a simple power miter saw and arranges the material so it sits against the saw fence at the same angle it will be nailed to the wall.
Although the molding has to be upside down in this method, a simple downward cut of the blade set at 45 degrees produces the perfect bevel and miter at once, as you’ll see.
Steps for Installing Crown Molding
Installing crown molding, however, is a task that strikes fear in the heart of every amateur carpenter—and even some pros. Because it sits at an angle on the wall, each joint is made of compound angles. Getting it right requires a lot of patience, an aptitude for spatial relations, and a few tricks from an experienced pro.
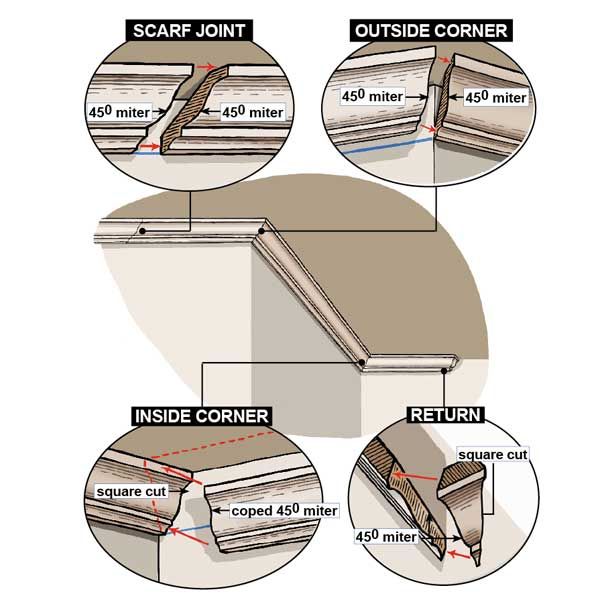
Step 1: Make the First Scarf Cut

- When two lengths of molding are required for a long wall, join them with an angled, overlapping scarf joint.
- If you’re working counterclockwise around the room, adjust the saw for a 45-degree miter cut to the left. (Swing it to the right if you’re going clockwise.)
- Then put the crown, upside down as before, on the saw table between the wood guide fence and the vertical saw fence. Make sure the piece you’re keeping is on the side to which the blade is turned.
- Hold the molding securely, then cut through it slowly.
- Leave the blade in the same position, and cut the adjoining length of molding with the piece you’re keeping on the other side of the blade.
Step 2: Complete the Scarf Joint
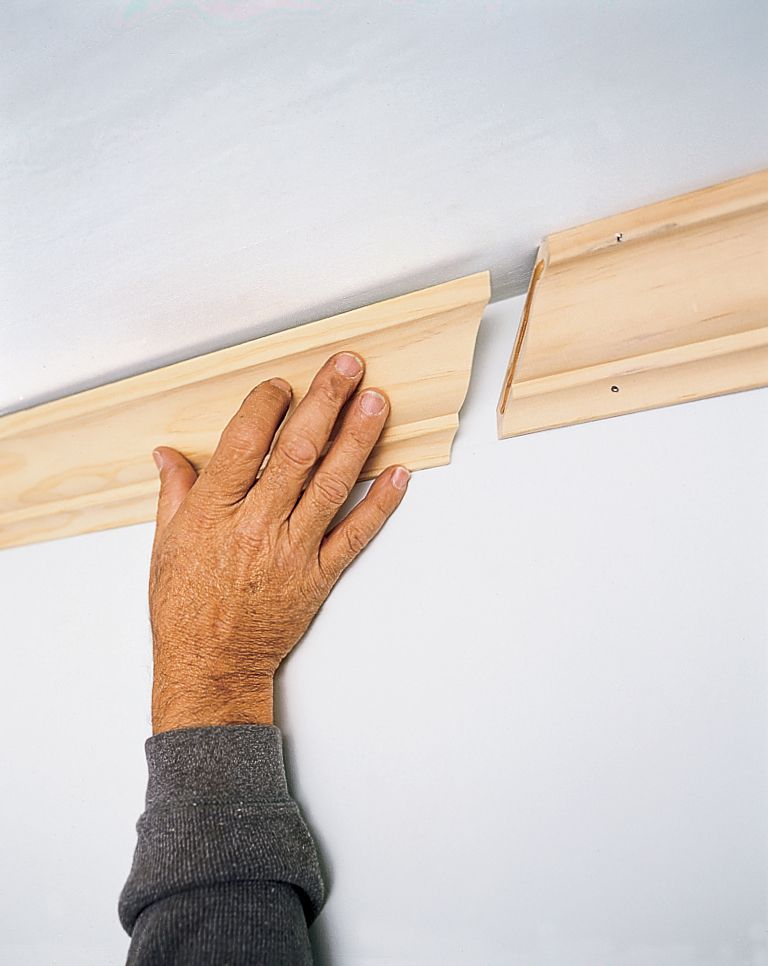
- Apply a thin, even layer of glue to the scarf joint on the molding that’s now nailed in place.
- Install the adjoining piece of crown so it creates a tight-fitting scarf joint.
- Fasten the second piece with finish nails top and bottom, and wipe away any glue from the scarf joint.
- After the glue dries, use 100-grit sandpaper to sand the joint smooth.
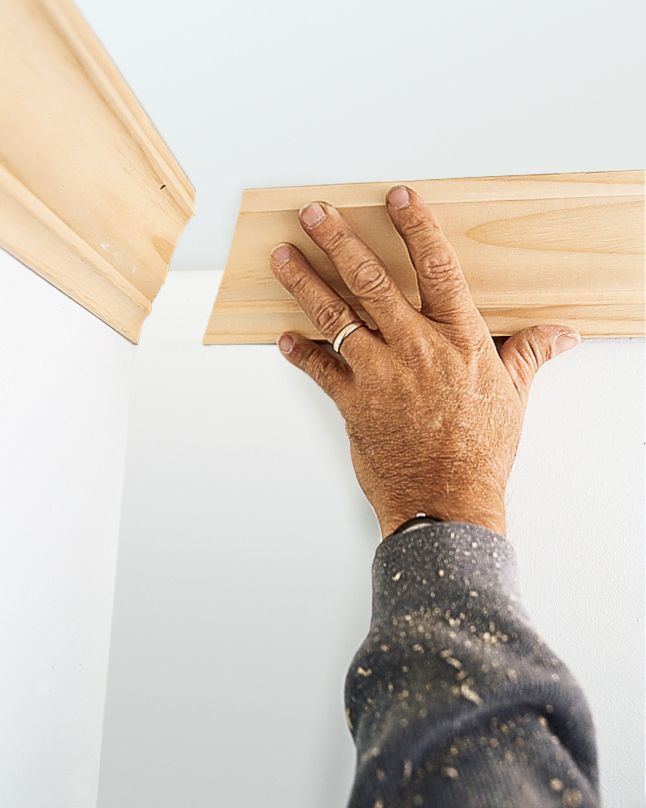
Step 3: Determine Angle of Outside Corner
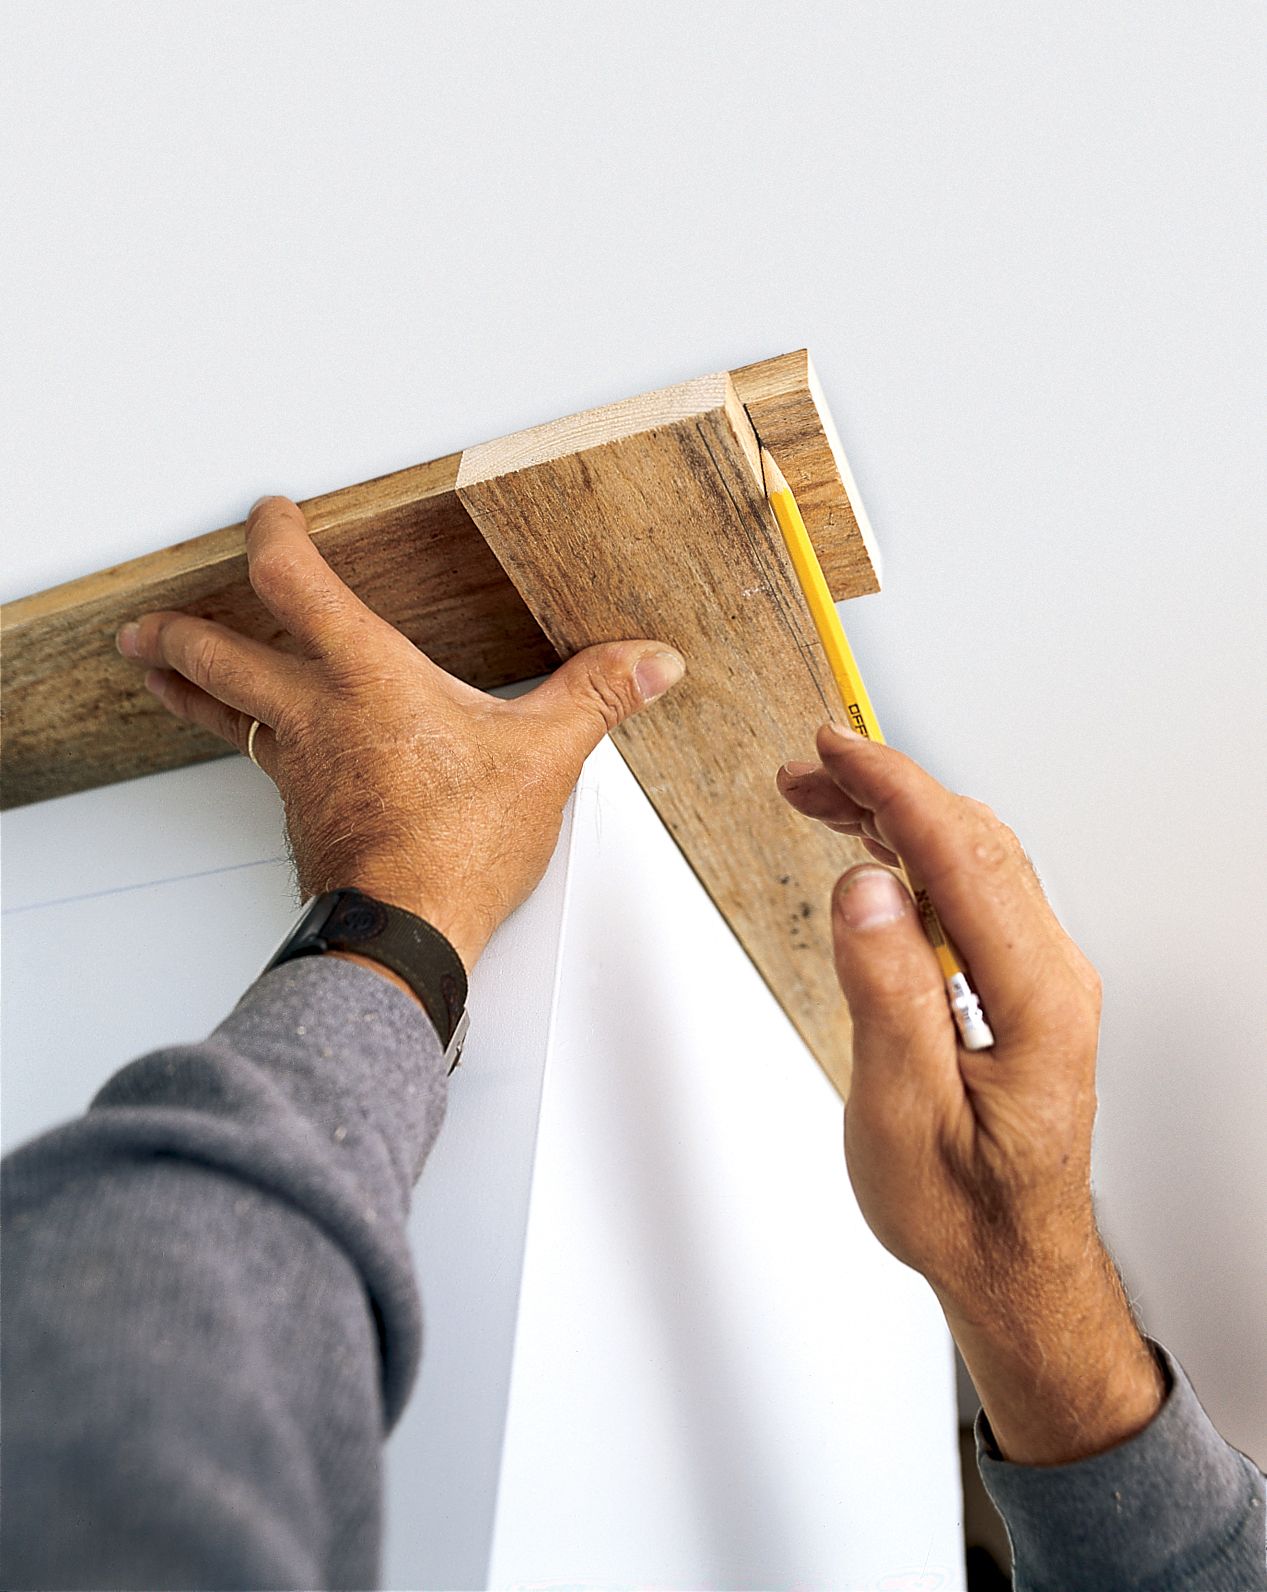
- An outside corner can be formed by cutting two pieces of crown with opposite miters of 45 degrees each, making sure both miters are longer on the top of the crown (the part that rests on the saw table when you cut). But sometimes a wall corner isn’t exactly square, so you must first measure the angle formed by the two walls and and then bisect it.
- To do this, take two pieces of wood of exactly the same width and hold one against each wall, making sure their ends overlap by an inch or so.
- Next, draw pencil lines on the face of the upper piece (the one held flat to the ceiling) alongside each edge of the overlapping piece.
- Draw a diagonal line to connect two opposite corners of the marks.
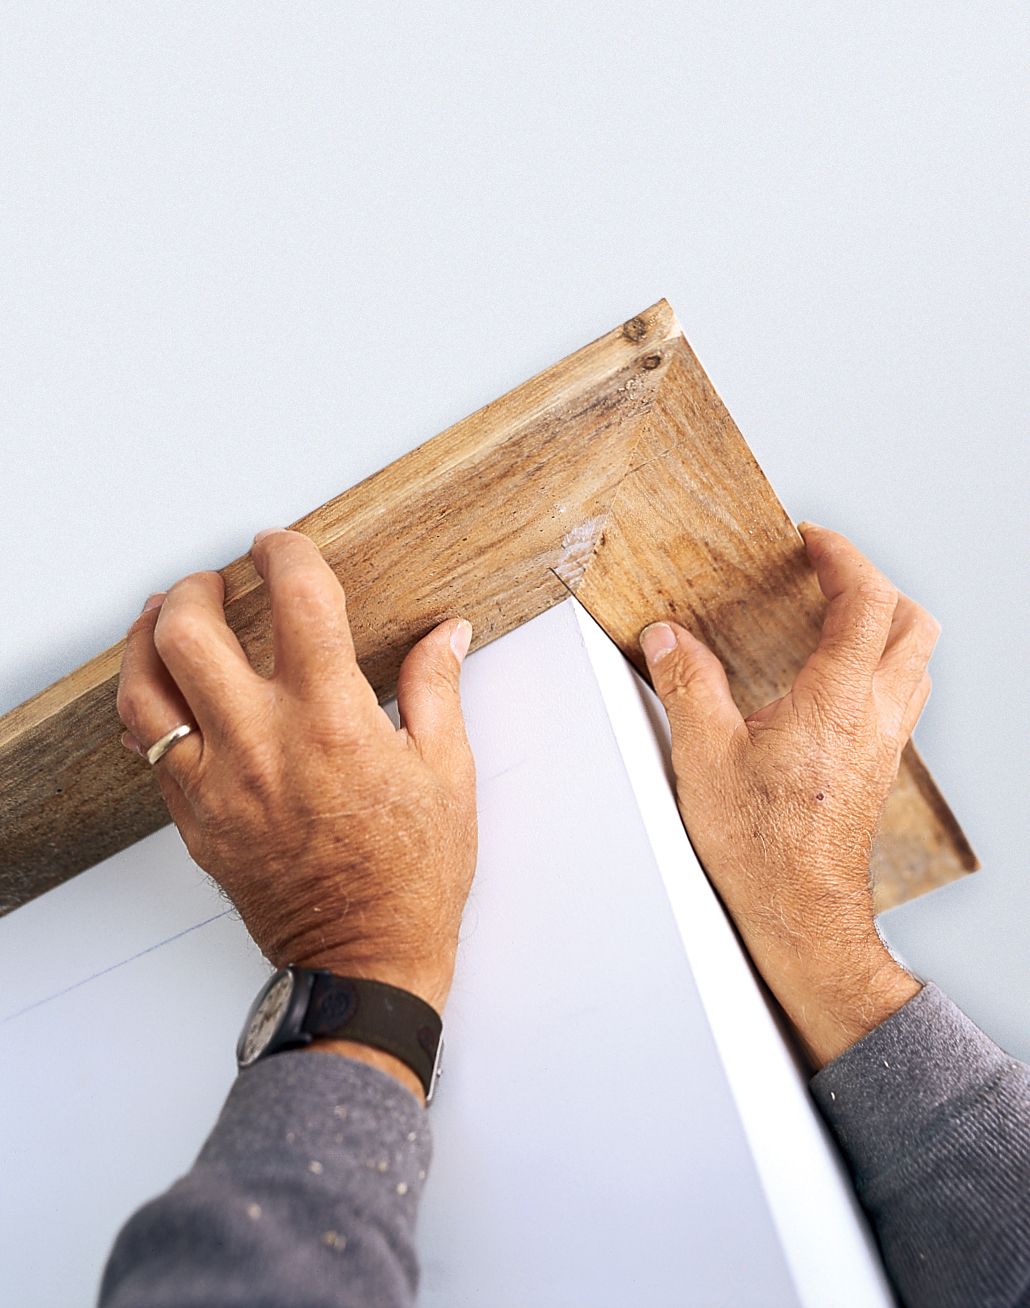
Step 4: Test the Angle Cuts
- Turn the pieces so they are stacked precisely one on top of the other (make sure to put the piece with the pencil lines on top).
- Then take this stack to the miter saw, put one set of the boards’ edges against the saw fence, and adjust the blade angle to match the diagonal line.
- Saw through both pieces at the same time along the diagonal line. This cut bisects the angle of the outside corner.
- Hold the cut pieces against the ceiling as shown and check for a tight fit. If necessary, mark in which direction the angle is off, adjust the saw to match this corrected angle, reassemble the two boards as before, and cut them.
- Then test again to be sure.
Step 5: Cut the Outside Miter
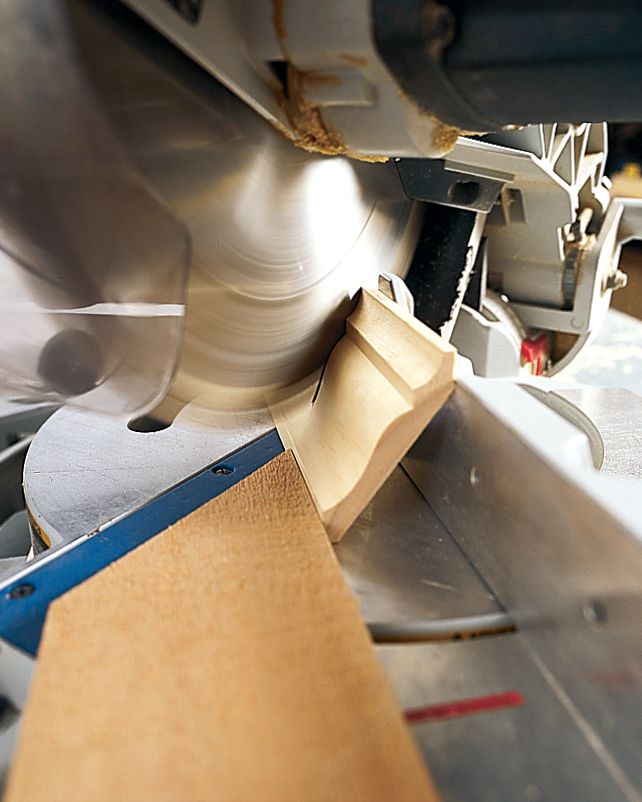
- Mount a piece of crown in the saw (upside down as before), leaving the blade set to the angle used to cut the test scrap. This is the angle you’ll use to cut the outside corner.
- Because the molding is upside down, if the saw blade is swung to the right, you will be cutting the right-half piece of the joint and you’ll need to cut off the right end of the workpiece. If the blade is swung to the left, cut off the left end of the workpiece to complete the left half of the joint.
- Once you’ve cut the first piece, use the test scrap to adjust the blade in the opposite direction and cut the other half of the joint.
Step 6: Install the Molding on the Corner
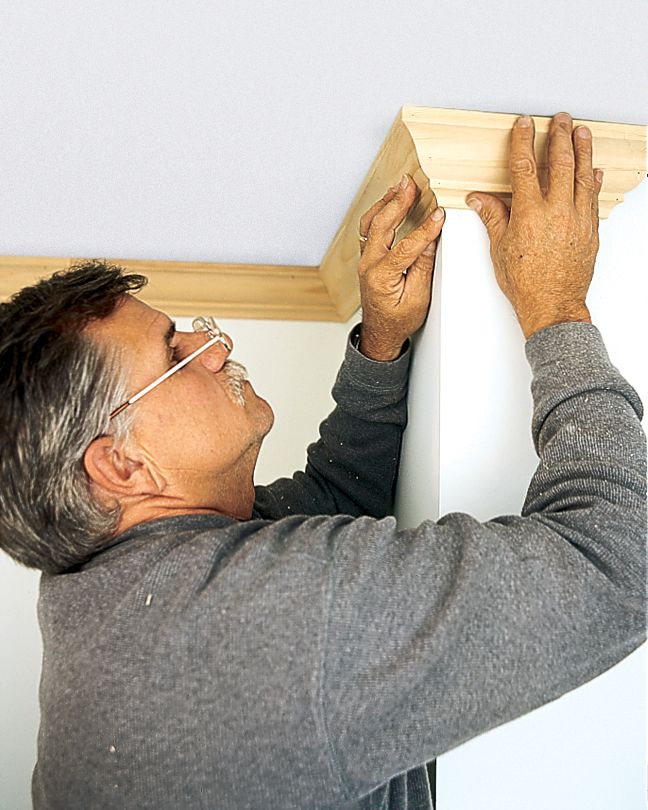
- Hold the molding pieces in position at the outside corner and check for a tight fit (left).
- Before nailing the molding to the wall, bore two pilot holes through the point of the miter joint. A 4d finish nail chucked into your drill works well here.
- Then apply glue to the miter joint and fasten each piece of crown with 6d or 8d finish nails top and bottom.
- At the corner joint, tap 4d finish nails through the pilot holes.
- Set all the nails.
Step 7: Make a 45-Degree Cut
- Inside corners are composed of a square-cut piece that butts the corner, and a corresponding piece that’s cut on an angle and coped (carefully cut along the molding’s profile) to conform to the first piece.
- Begin by installing a piece of crown with a square-cut end (zero degrees on the saw).
- Then position a second piece of molding upside down on the saw and adjust the blade for a miter cut. If this piece comes to the joint from the right side as shown in Step 3, swing the blade to 45 degrees left and make the cut. The bulk of the molding should be sitting on the left side of the saw.
- If cutting a left-side coped piece, swing the blade to 45 degrees right, with the molding sitting to the right.
Step 8: Cope the Edge
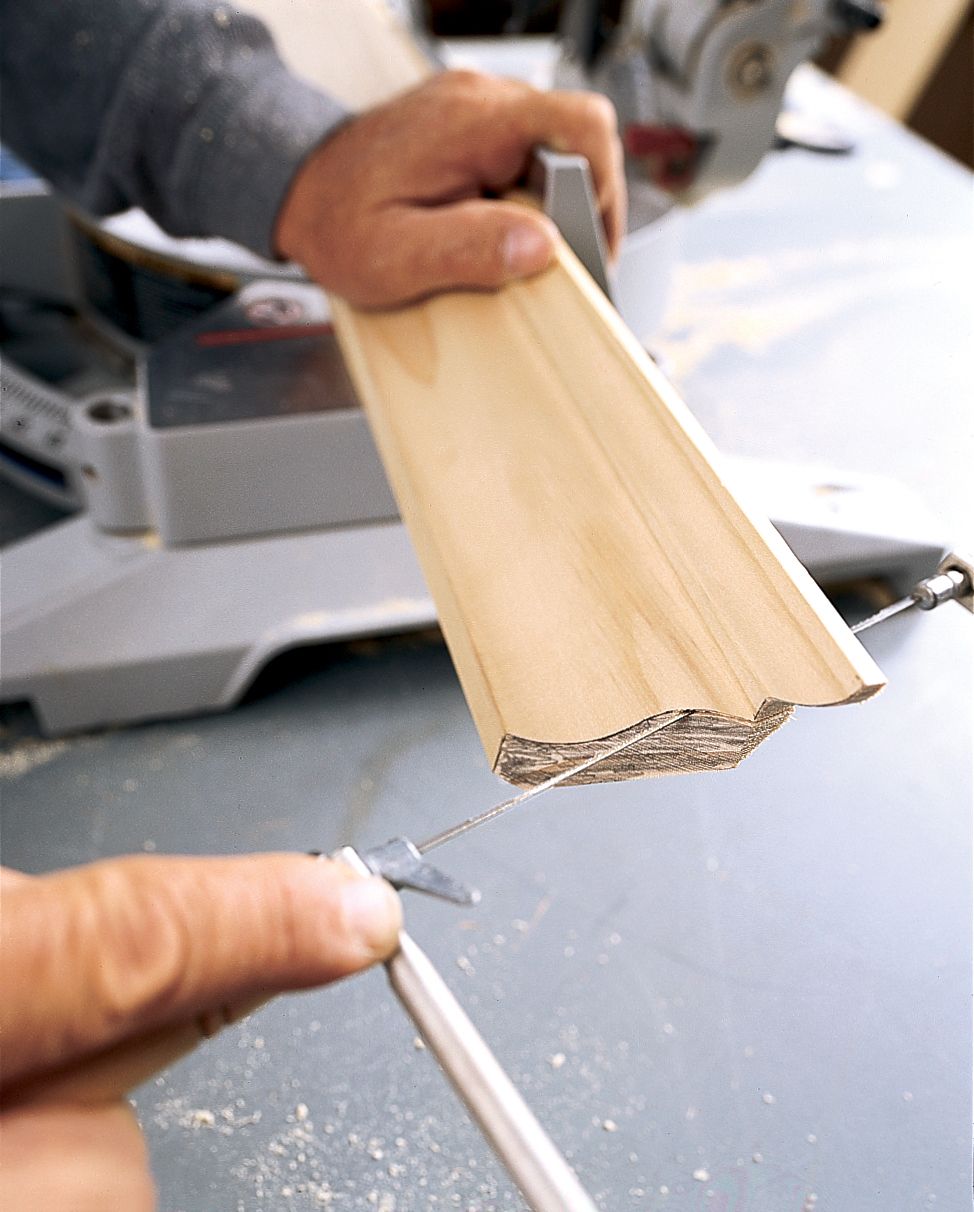
- Highlight the very edge of the cut, along the profiled front of the molding, with a pencil.
- Next, using a coping saw, cut away the bevel. Angle the coping saw blade toward the rear about 5 degrees — a technique known as back beveling—and carefully follow the molding profile as you cut.
- Use the miter saw table to brace the workpiece when cutting.
Step 9: Check the Fit
- After completing the coped cut, test-fit it against the square-cut crown that’s nailed in place.
- If necessary, use a rasp to remove more wood or smooth out the coped cut.
- Nail the coped molding in place and set the nails.
Step 10: Cut the Return
- Where the crown molding doesn’t butt ito something, you need to finish it with a return. Cut a 45-degree miter on the end of the crown (as you did for an outside corner) and nail it up.
- Next, make a 45-degree cut in the opposite direction on another piece.
- Adjust the saw to zero degrees and lay the piece flat and face-down on the saw table. You’ll need to remove your wood guide fence for this.
- Cut through the crown, starting at the very point of the miter.
Step 11: Complete the Return
- Bore two pilot holes through the tiny triangular return with a 4d finish nail chucked in your drill.
- Apply a thin coat of glue to the return, then press it into place and hold it for a minute or two.
- Nail the joint gingerly with 4d nails through the pilot holes only if the glue fails to hold.
- Set the nails and fill all nail holes with putty.
Tools:
Tools & Materials
 Miter saw
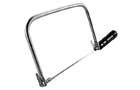
- Coping saw
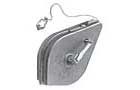
- Chalk line
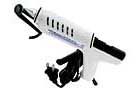
- hot glue gun
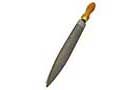
- Rasp
- Drill/driver
- Hammer
- Nailset