
The Right Setup
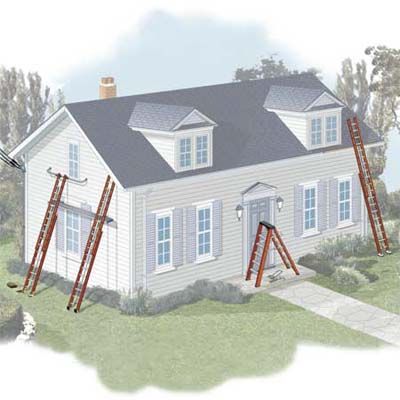
“I know a lot of people—professionals, even—who have been hurt only because they tried to take a shortcut when setting up their ladders,” says This Old House general contractor Tom Silva.
In order to be safe, a ladder needs to remain stationary. Period. And setting it up right is at least half the battle. Here’s what proper placement looks like.
Footing: Keep it Level
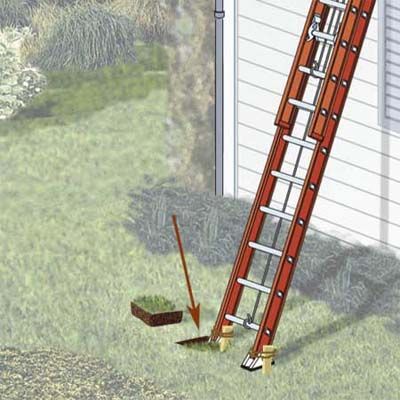
Level feet by digging out the ground or by using ladder levelers.
Footing: On Solid Ground
On hard, dry ground, rest feet (with textured-rubber pads intact) flat, free of slippery plastic tarps and debris.
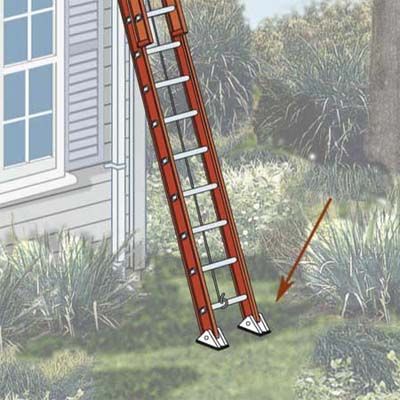
Footing: On Soft Ground
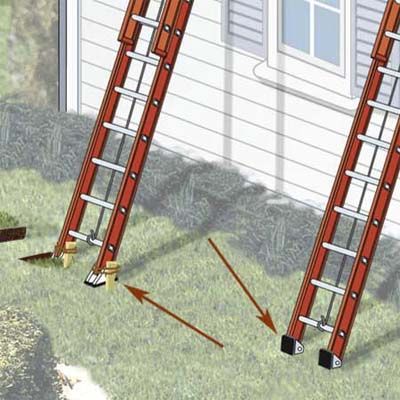
On grass or soft ground, flip the feet up and drive their spiked ends into the ground, or lay the feet flat and tie them down on the side (or brace them in front) with 1×2 stakes.
Footing: Correct Angle
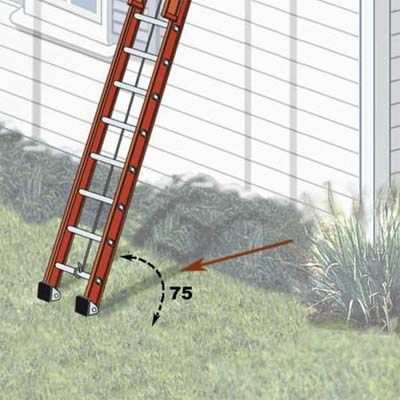
Position the ladder so that the distance from its base to the wall is one-quarter of the height of the ladder at its resting point, creating a 75-degree angle.
For a quick check on the angle of your ladder: Stand facing it with your feet touching its feet and your arms extended—your palms should rest on a rung at shoulder height.
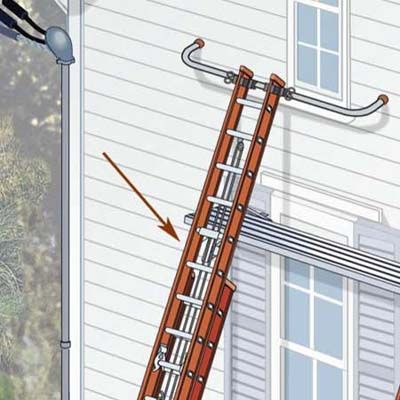
Exterior Wall: Look Up
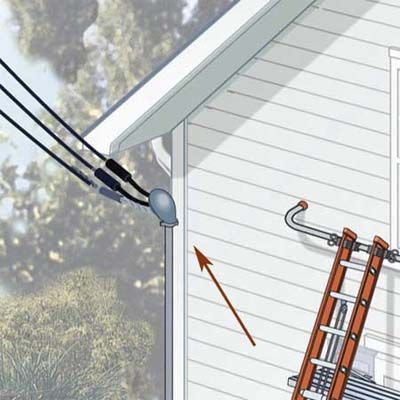
Always look overhead for wires before you carry or set up a ladder.
Exterior Wall: Avoid Edge
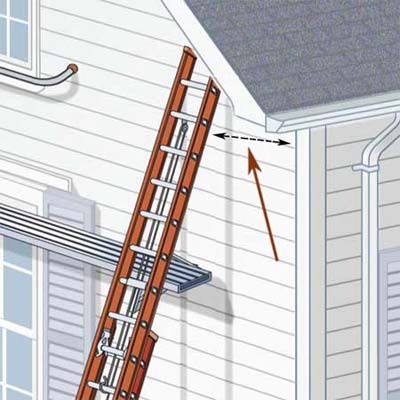
Make sure ladder isn’t too close to edge.
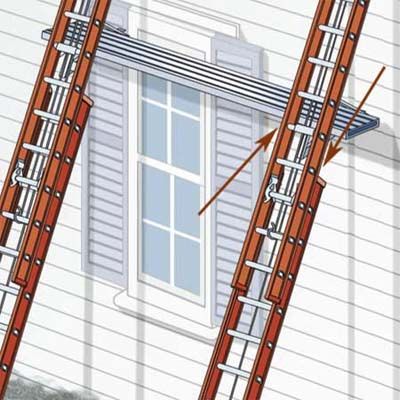
Exterior Wall: Stabilize
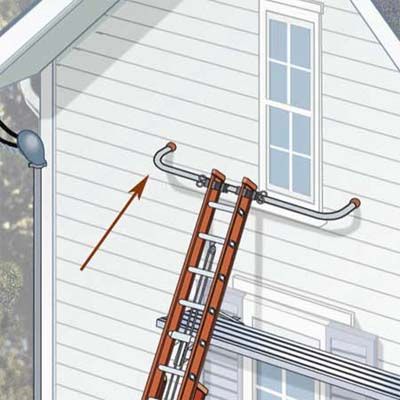
Use a ladder stabilizer (or standoff) around windows, for greater stability, and to position yourself at a more comfortable distance from the work.
Exterior Wall: Jacks
Never use ladder jacks higher than 20 feet. Above 10 feet, you must use a harness.
Position jacks on either front or back of ladder. If the planks are in front, have another ladder available for access.
Exterior Wall: Jacks
Use ladder jacks on Type I or IA ladders only.
Hook ladder jacks onto two rungs of ladders.
Exterior Wall: Planks
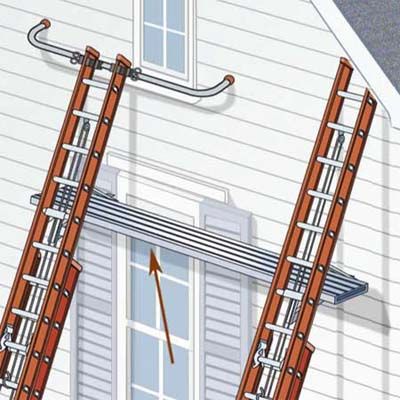
Use only aluminum scaffolding planks meant for ladder jacks or 2×12 wood planks no more than 8 feet long.
Exterior Wall: Fly
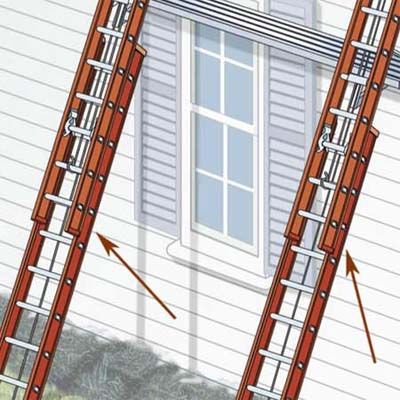
Always position the fly section (the one with the rung locks) in front and make sure it overlaps the base section by at least 3 feet.
Roof: Proper Extension
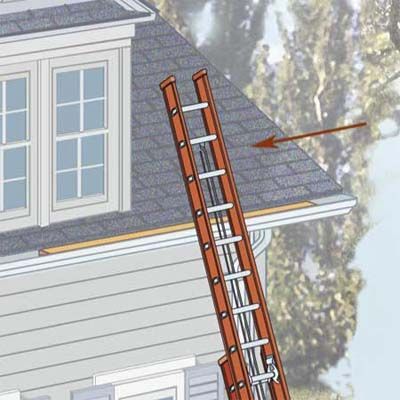
Extend ladder 3 feet above any surface that you’re climbing onto.
Roof: Gutter Support
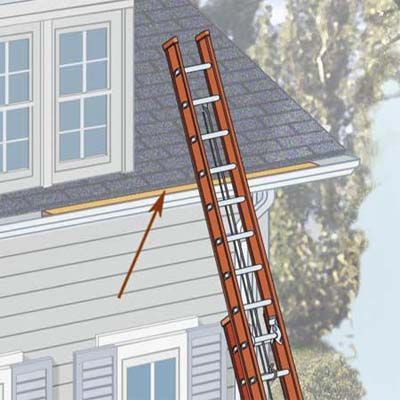
Slip a 2×4 into a gutter to keep it from being crushed by the ladder.
Roof: Rope
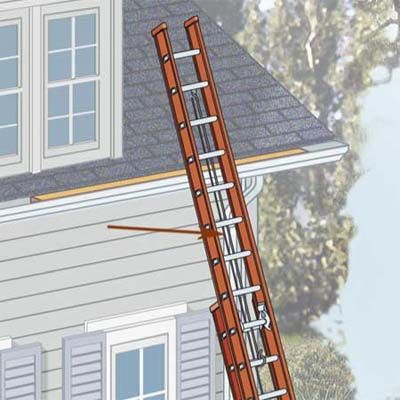
Check rope and pulley to make sure they show no signs of wear or damage.
Roof: Rung Locks
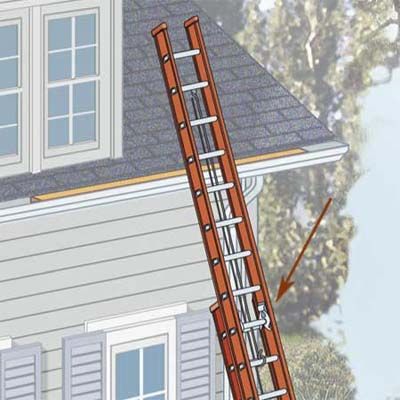
Hook both rung locks securely over the rungs and tie off the rope on a lower rung.
Roof: Stabilize
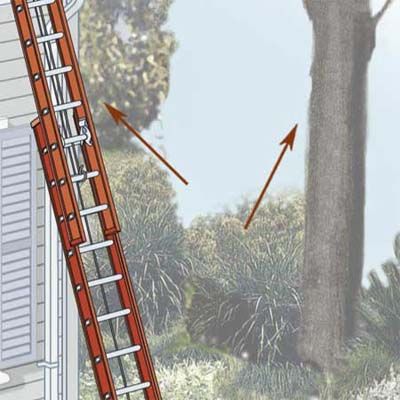
Don’t rest an extension ladder against a tree or pole, where it can rotate and fall.
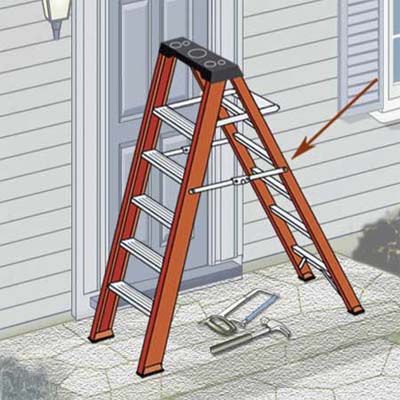
Stepladder: Safety First
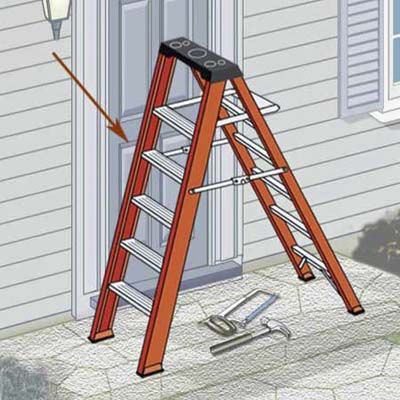
Check that any supports/braces beneath treads are intact.
Stepladder: Keep Treads Clean
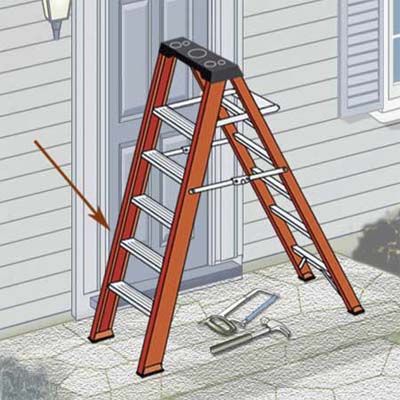
Keep treads free of paint—which can hide defects on wood—and clean of grease and dirt.
Stepladder: Steady Feet
Place feet on level, stable ground.
Stepladder: Brace It
Open and lock rail spreaders.
Stepladder: Close Door

Make sure any doors next to a ladder are locked or barricaded.
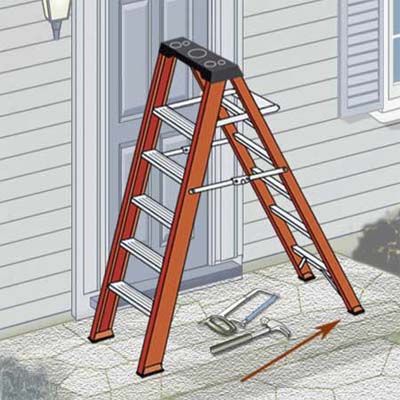
Stepladder: Remove Obstacles
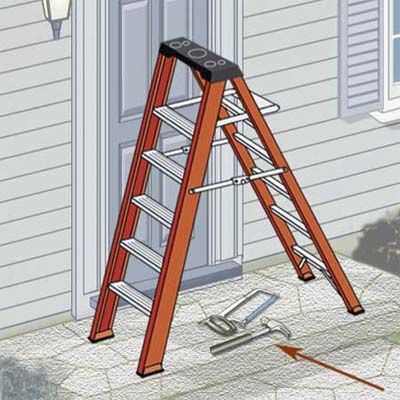
Remove all tools and materials from the ladder when it’s not in use.